Wonder Wednesday 128: Viola Printing
Happy Earth Day! I hope you had a chance to get outside at some point last week and connect with the wonders of nature in whatever ways you like best!
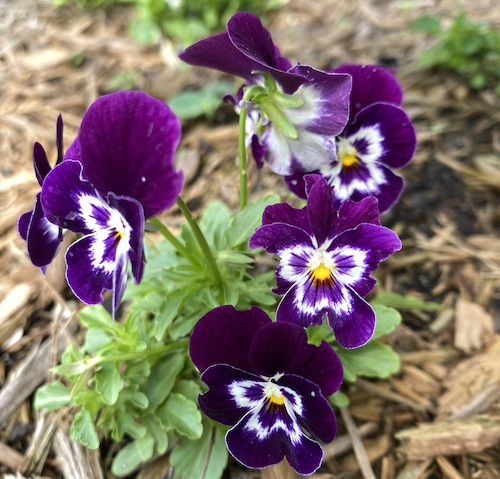
This month's Wonder Wednesday project is a spring take on one of my most popular Wonder Wednesday projects ever - Wonder Wednesday 36: Chlorophyl Collage Prints. We're taking a hammer to plants again - Only this time we're making prints from viola flowers!
I made bookmarks, but you could print these little flowers onto pretty much anything you want! Try cards, mother's day gift tags, stationary....
If you make larger cards, you could also use pansies, or a combo of the two flowers would make a nice size contrast.
Science & Art
How does a flower get it's color?
Many pigments in flowers come from anthocyanins. The color of a flower or plant is passed down through its genes. These pigment colors range from white to red to blue to yellow to purple and even black and brown.
Anthocyanins are a category of plant-based chemicals called flavonoids. You may have heard this word before in the realm of nutrition - such as in the advice to "Eat a Rainbow."
The rainbow they speak of in our foods are in part from anthocyanins. Anthocyanins and flavinoids are powerhouses of health.
Fruits, seeds, shoots, flowers and leaves - flavonoids are found in all the parts of plants.
They help plants reproduce by attracting pollinators (like how the red color of a flower attracts hummingbirds) and they protect plants from environmental stressors like ultraviolet light, drought, and cold.
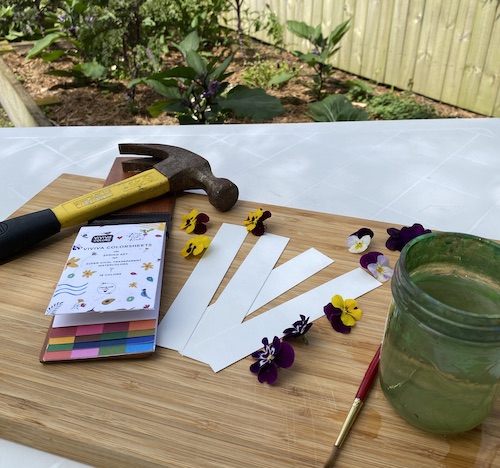
Materials:
- A surface suitable for hammering on (I used a wooden cutting board)
- Viola flowers, fresh picked and not wet
- A hammer
- Paper (I used 120lb hot press watercolor paper, but any smooth, thicker paper like card stock or bristol board would work)
- Scrap paper (copy paper or anything will work)
- Optional: watercolor paints I used my signature Wings, Worms, and Watercolor Viviva Colors paint set, there are 2 left in the Etsy shop!
Preparation:
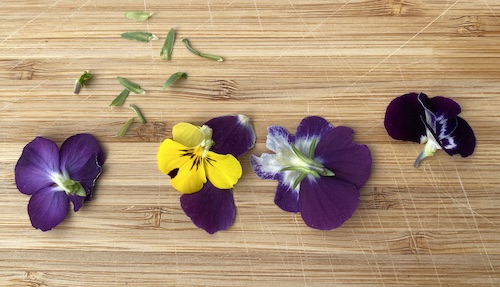
Carefully pick the green bits off the flowers (these are called the sepals). This a bit fiddly, and is optional, but they have quite a bit of moisture in them and will make the print details less sharp.
Cut your paper into whatever size shape and format you want. For example, I cut mine into bookmarks.
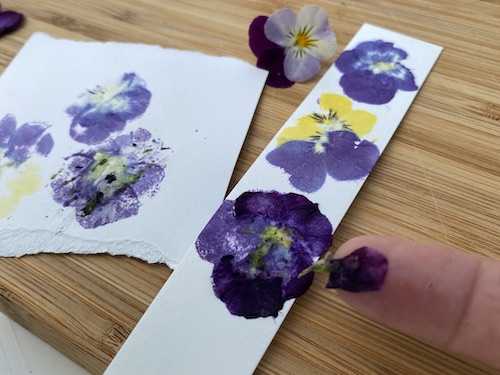
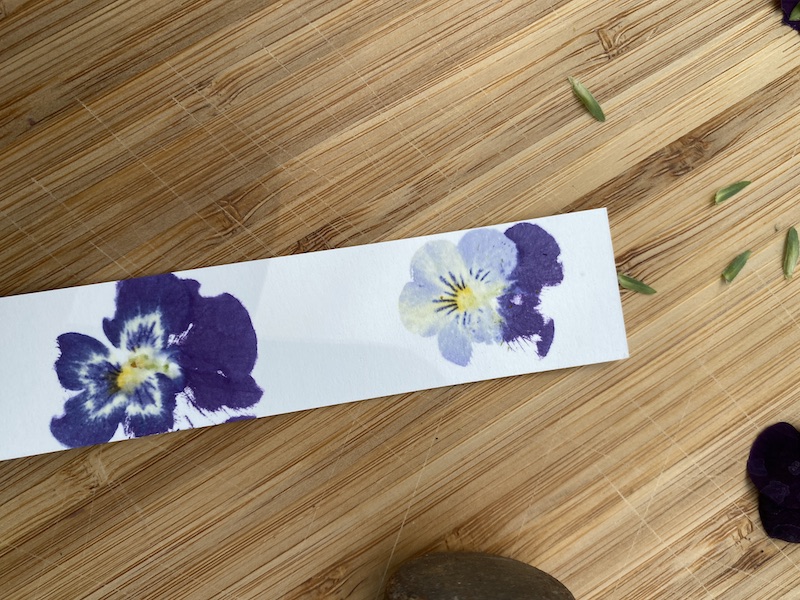
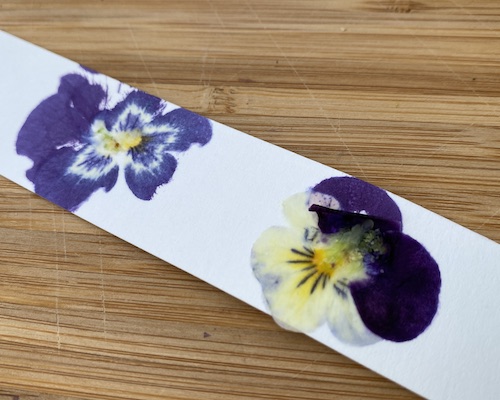
(See how the purple flower is more blurry and there is a green smear?
That's an example of what leaving the sepals on looks like.)
Procedure:
1. Place 1 flower, face down, onto the printing paper where you want a print.
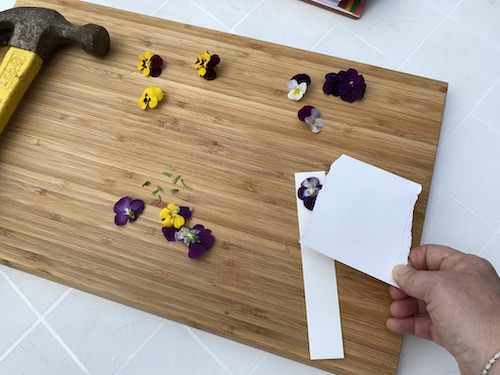
2. Place the scrap paper overtop of the flower.
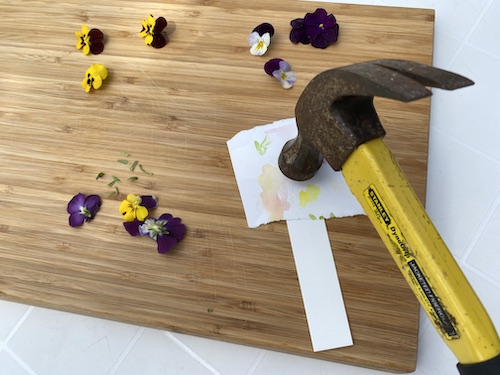
3. Hold the paper steady and gently tap the flower with the hammer. Too light and it wont print, too heavy and it can smear or obliterate details.
Play around with the pressure. With the right pressure, the detail you can get from the patterns on the petals is surprisingly spectacular.
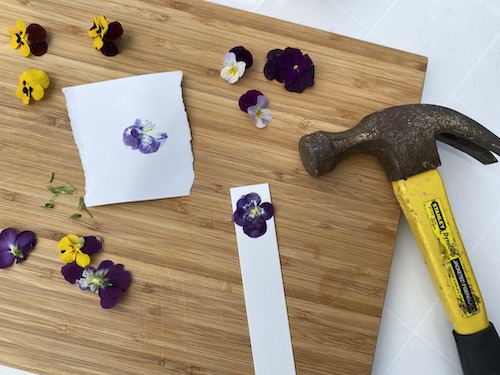
4. Once you've gently pounded the flower, remove the scrap paper, let it air dry a bit for a few seconds, then gently use your finger to roll off the pounded flower petals.
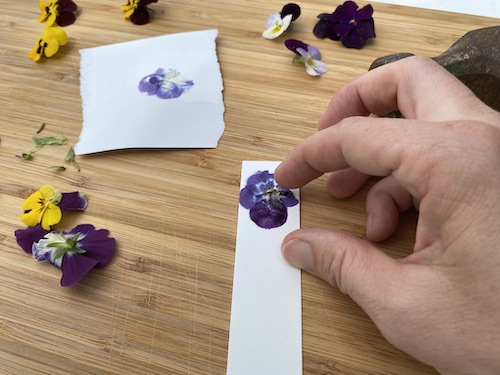
5. Voila! A viola print!
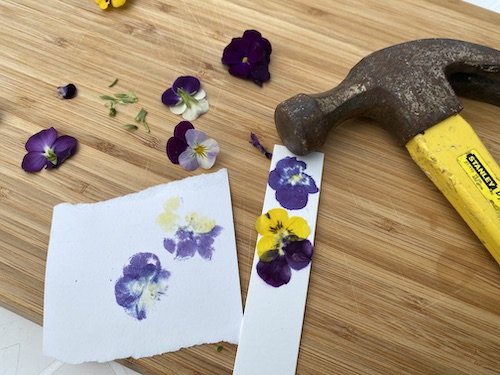
Print away to your heart's content. Play with pattern and using individual petals as well as full flowers.
Check out the detail on the printed flower to the left! The flower to the right is pounded but the petals haven't been removed yet.
Have fun with it! There is no right or wrong way to enjoy this project. (Just be careful not to hit your hand with the hammer 🙂
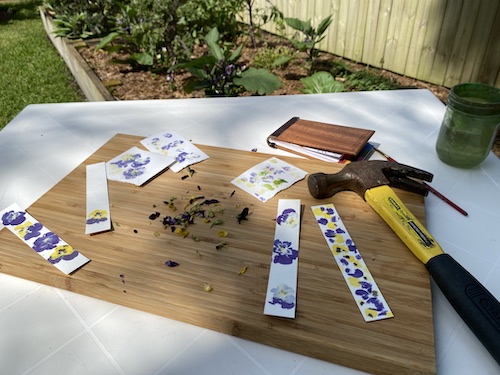
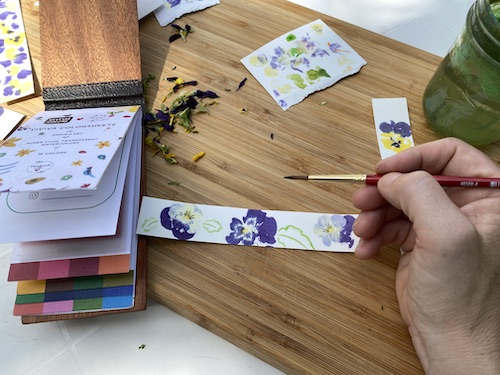
6. Optional: Once the flower pigment is dry, you can add watercolor painted leaves, designs, names or whatever you like!
The flower prints look like little watercolor paintings themselves so the medium goes really well.
