
Wonder Wednesday 9: Cover Cropping
Summer or Fall - depending...
What season you cover crop the school garden (aka put the garden beds to bed) depends on where you live. In the deep south, our primary growing season is the school year, so we cover crop before summer break. Up north, the primary growing season is summer, so y'all will be cover cropping in the next few months at the time of this writing.
This blog post was originally written at the end of the school year, when putting the garden beds to bed for summer, so it slants to that lens, but the info is applicable no matter what season! Every garden has a down season and cover cropping is a great way to prepare the beds for the next growing season.
When introducing children to the school or community garden beds and teaching them the names of the garden areas, I always ask them if these are beds you sleep in. The older children think I’m corny and roll their eyes while quietly chuckling and the younger children take the question seriously and answer no, but laugh once they realize how silly my question is.
By the time the school year closes, the children have a much different relationship with the space. So when I say we are going to be putting the garden to bed for the summer they think I am just being corny again. A lesson on the hows and whys of putting a garden to bed for the summer is a great way to introduce the importance of cover cropping and letting areas lie fallow.
The Problem: Summer Break
Summer is a tough time for most school gardens. Teachers and garden managers are stuck with the question of whether to let the plants keep growing and hope that it either rains regularly or that the scheduled list of volunteers remembers to fulfill their promise of watering. (I’ll get more into a summer schedule in a bit.)
Do you let the weeds grow up and plan a volunteer work day the week before teacher work week to get it back in order, do you let the children see how it looks after a summer of semi-neglect, or do you put it to bed and let nature take its course? There is no right answer for every garden or every school year.
In the deep south, our growing season lining up very nicely with the school year makes the answer easy - put it to bed.
In northern areas, summer’s when your garden really starts producing, so in those regions I’d say make an awesome volunteer schedule.
In areas in the middle, you have to make the call. Maybe you experiment and do something different each year. To those gardens in northern regions summer break does still apply, so perhaps try different seasonal experiments. Also, you could just scale down your garden for the summer and let some beds grow and other get cover cropped, then the following summer rotate those beds.
What's Cover Cropping?
Cover cropping and letting fields, or in our case beds, lie fallow is an important part of sustainable farming. Growing crops in the same areas season after season greatly depletes the soil, so just as we rest in our beds, we need to give our beds a rest.
This can be done by leaving one bed fallow every year if you have that kind of space, or if not, you can cover crop over a season and then “turn in” the cover crop at the beginning of the school year to return the nutrients back to the soil in which the crop was growing. (Turning in does require a few weeks of garden rest after the plants are in the soil, so be sure to research this and make sure to choose the plant and method that best suits your needs.)
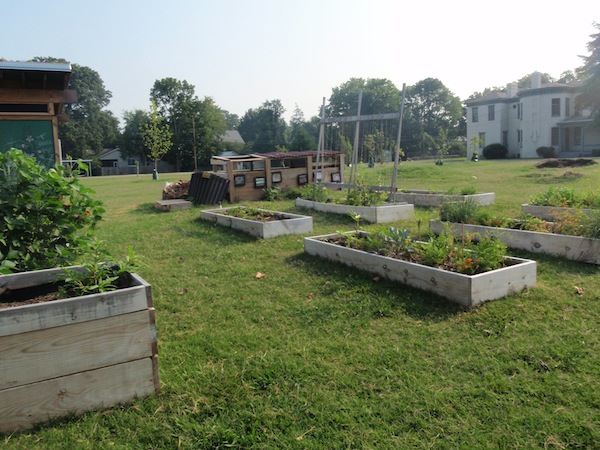
Cover cropping goes right along with crop rotation which is the practice of not repeatedly planting the same plant variety in the same place in order to deter pests and disease. But you can’t cover crop with just any plant. You want to choose one that will fix nitrogen (like legumes) and other nutrients into the soil, prevent erosion, add microorganisms, keep the weeds at bay (somewhat at least), and be easy to “turn in” or “chop out” for composting by hand – as the children should be doing this step in the process as well. A little research goes a long way in choosing the right cover crop for your area and needs.
Try this:
Have older students run a cover crop experiment by researching and planting different beds with different cover crops and over the next school year observe and document which beds grow best and why. This could incorporate preliminary research on which cover crops are best for your area, their pros and cons, and what benefits they add to the soil.
When it's time to plant again, the students can help decide what plant should be planted in which beds based on the nutrient requirements balance with what the cover crops offered and then track growth rates of new plants. This info could be compiled in a pamphlet on the benefits and how to’s of cover cropping in your area for optimum plant growth and production and presented at a local library or to the parents at a garden workshop. (This would be really interesting in colder regions, where there is garden downtime during the school year, with that earlier idea to test seasonal cover crop plant varieties.)
Wonder Wednesday 9
Cover Cropping: Putting the School Garden to Bed
Materials
Seeds for crops that that will fix nitrogen (like legumes) and other nutrients into the soil, prevent erosion, add microorganisms, keep the weeds at bay (somewhat at least), and be easy to “turn in” or “chop out” for composting by hand.
Try a quick search of "best cover crop for (add your region)"
Mulch of some sort (hay, pine needles, chipped wood - many tree services will deliver a load for free to your site)
Shovels, rakes, hoes, garden forks, lopers, and any other tools you have available for use in your garden that will help dig, rake, lay mulch, and all around prepare a garden bed.
Optional: Organized volunteer list and description of duties
Preparation
This is a basic lesson structure into which you can add your own twist and specifics based on your region, garden size, volunteer quantities, and needs. It requires a little specific local research, but don’t worry, not too much!
Tip: Get an extension agent to come out and speak on the topic and set you up for success!
Introduce the children to the concepts introduced above regarding why we need to "put the garden to bed" and how the qualities of a particular season make cover cropping a good idea. (Ex: summer is too hot, because no one is at school, winter is too cold, etc.)
Explain to the students how they will "wake the garden back up" in the next planting season by chopping and shoveling up their cover crop and either burying it back into the soil or composting it to “feed” the new plants and the soil - depending on which cover crop plant variety is chosen. You will have to develop this part of the lesson for your region and needs specifically.
(This could be a good time to review soil structures and how soil is living if you are working with older children.)
Procedure
Day 1 - If in doubt - pull it out!
Pull out the plants! WARNING: the children can get wild during this!
Be very aware of energy levels and before the pulling begins you must explicitly explain which plants are to be pulled. You could even mark the plants to be removed with a ribbon as a visual cue.
Without fail, a plant that is not supposed to get removed will get pulled by someone who wasn’t paying attention or who got caught up in the frenzy of pulling out plants. It always seems to happen no matter how prepared I am!
It's not the end of the world. Replant it if possible. If not compost it and move on.
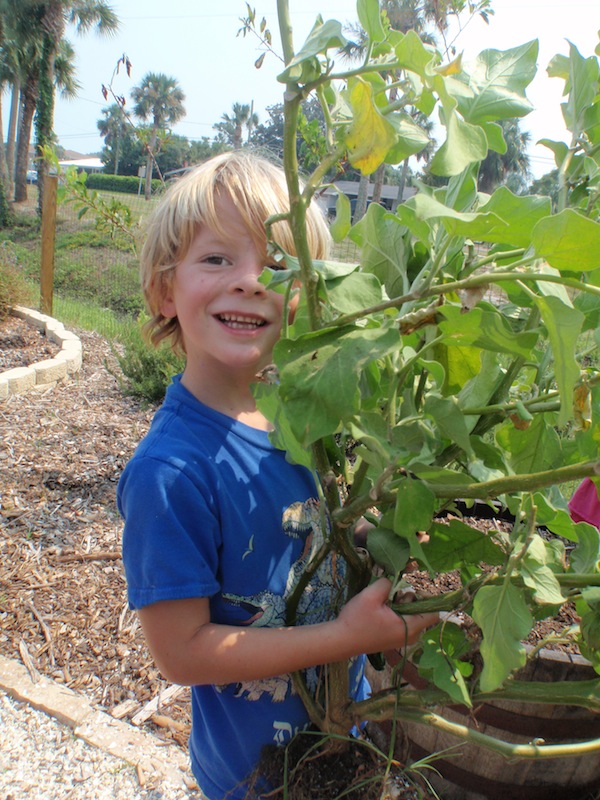
Pulling out large plants with finesse and not damaging the surrounding plants is a great test of motor skills and strength for younger children.
Have the children dispose of the pulled plants in the appropriate way for your school or garden. This may involve chopping them with tools to prepare for putting them in the compost pile or putting the plants in a designated yard waste disposal area.
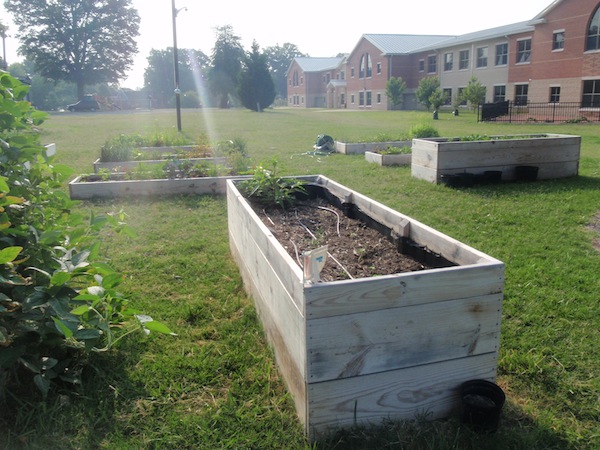
After the designated plants are removed, have the children rake the garden soil flat and perhaps add in a layer of compost if you have it to get the soil ready for cover cropping. The garden should look as tidy afterward as it did before pulling out plants.
Day 2 -
Plant the cover crop seeds appropriate for your region according to package instructions.
Cover with another layer of compost, generally about a half an inch thick or so.
Have the students water the cover crop seeds according to packet instructions. If using different types of cover crop seeds you could have students them track and graph which ones sprouted first.
If putting the garden to bed for winter, apply a layer of heavy mulch over the seeds and soil.
Wake UP! It's time to plant!
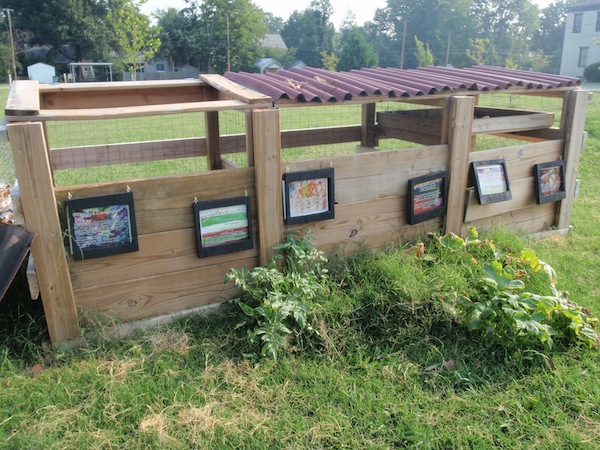
Depending on what crop you chose and your particular situation, chop up the cover crop with shovels and either “turn in” or pull out and put into your compost bin.
Rake your soil to make it nice and smooth and tidy.
Then, either let your beds rest for a couple weeks if you turned in your cover crop, or if you decided to put the removed crop into your compost pile, add a layer of fresh compost and begin your planting! You have come full circle now!
Summer & Volunteer Schedules
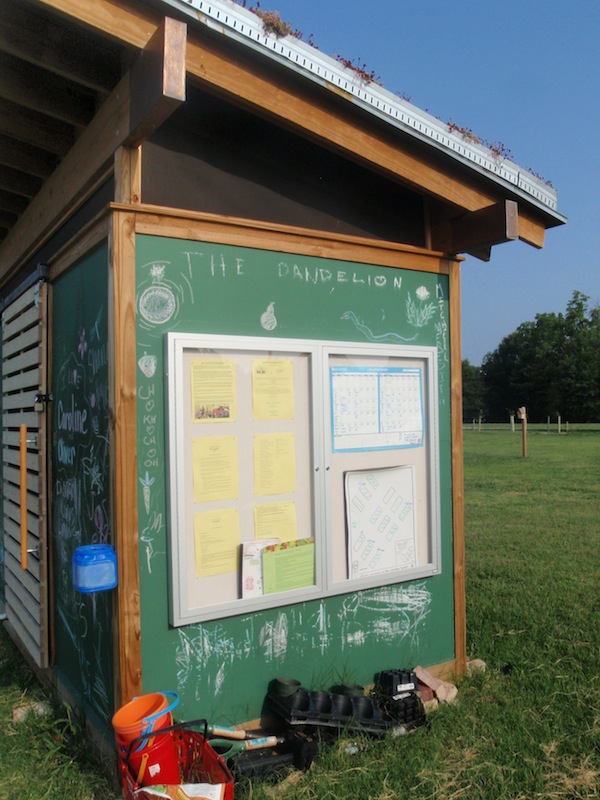
For my classroom/school garden, about a month before school lets out, we would create a calendar for the summer. Just the regular old style of months with squares, one page for each month of summer vacation.
Then, we (as in my co-teacher and I) would give these calendar sheets to the room parent and have them organize student parents & caregivers to volunteer a week at a time to come over the summer and water.
With the calendar sheets, we would give the room parent organizer an instruction sheet describing what the volunteering entailed and make clear that volunteers are only responsible for watering. They can always pick weeds if they like though! & No big deal if anything dies. (Some parents were quite worried about not having "green thumbs".)
Some parents and caregivers sign up for more than one week, and some for no weeks, but it always works out - and the garden, in whatever state of totally cover cropped to none at all, will get at least some water. The room parent would return the sign-up calendar sheets to us and we would verbally confirm with the volunteers the last week of school (in person or by phone). You can never have too many reminders!
We always received great feedback from the volunteers about how their children were very excited to come and tend the garden over the summer. We always had an open harvest policy also for the volunteers too. If you see it over the summer, pick it and enjoy!
Seeds to Sprout
Wonder Wednesday 9- The Original
The original 9th Wonder Wednesday post has links to some great gardening articles about cover cropping by sources such a Monther Earth Magazine, The Farmer's Almanac, Cornell University, and more. So If you want more resources - check it out while it still exists - it may not by the time you read this!

10 Spring Gardening Tips!
Is spring on your horizon? Well Check out these 10 Spring gardening tips to set your garden up for success!

To Pick or Not to Pick?
Part 1 of 3 in a mini-course on harvesting! How do we know when a garden plant is ready to harvest? Learn the signs here!