Wonder Wednesday 146: Berry Ink

Making ink out of berries?
Sure! Why not? Humans have been doing it for millennia! This Wonder Wednesday's project is inspired by Melissa DeSa's new book Found, Foraged, Grown: An ecologist's sketchbook of a place-based palette.
What a great book this is, not only because Melissa is a brilliant person & artist, superb ecologist & gardener, and gets an "A" in community & nature based activism, but because making your own inks and paints for nature journaling from the literal plants you grow in your garden and find in your nearby nature is the ultimate in place-based creative nature connection!
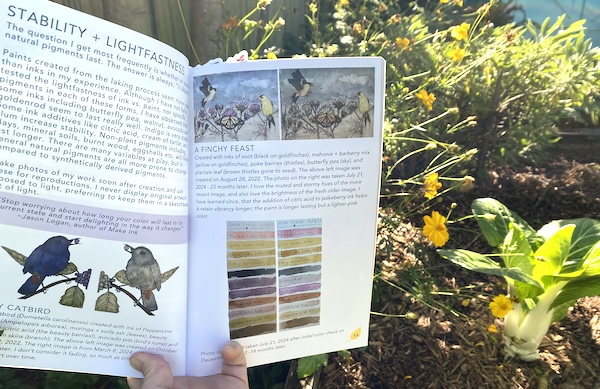
I've loved reading this book and gleaning Melissa's insights and experience in making her own paints and inks. The full color photos and illustrations along with the highest focus on honorable harvest and mindful collection brings a reverence to nature painting that fuels true and lasting connections to our natural world through art.
What can we use to make ink?
Sooo many different plants I've learned! From flower petals & leaves, to barks & roots, and of course berries. Think about how picking blackberries stains your hands - well, under Melissa's guidance, we're going to transfer that same stain to ink!
With a little heat and surprisingly short amount of time (for small berries anyway), the sugars cook off and we've got ink ready to paint.

If you want to experiment with making inks and paints from other plants (like indigo) and plant parts (like cosmos petals or black walnuts), be sure to check out this book!
It covers each color range and a list of plants that can be used to make the color, extras that can be added to play with pH and colorfastness, the difference between making ink and watercolor paint (and how to do both), as well as keeps the focus on process, on having fun playing and experimentation, and on connection to nature.
What kind of berries?
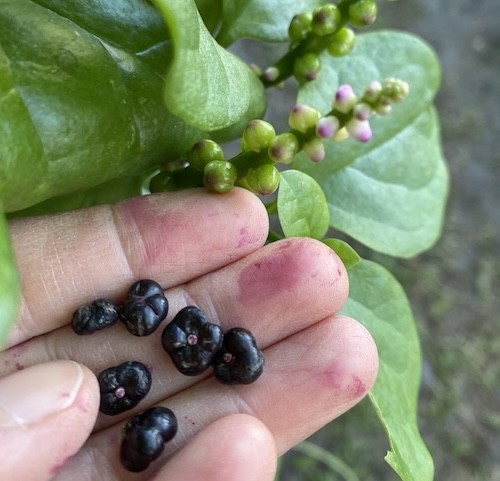
I used malabar spinach (Basella alba) berries, mostly because I had them fruiting right now and they always stain my hands so much I was curious. Plus, they aren't poisonous, but they don't taste like much so aren't super enticing to just eat fresh.
They also have a low sugar content so I liked that I wouldn't have to cook off the sugar for too long (which is optional but here in the land of incessant cockroaches and ants I didn't' feel like it was optional for me).

Malabar spinach is actually native to the regions of India/Sri Lanka/Indonesia, but I've been growing it in my garden for years, so it's a familiar part of my nearby nature. You could use other types of berries that you have growing around your area.

I don't recommend using poisonous berries, even though some do make ink. In my opinion, it's just not worth the risk for an amateur (which i consider myself in this field) - but you'll have to be your own risk/benefit analysis judge.
So with edible berries in hand, are you ready to join me in making your own garden berry ink?
Wonder Wednesday 146: Making Berry Ink
Materials
To make the ink:
Berries of some sort - I used malabar spinach berries
Sauce pan
Stovetop or burner
Spoon
Water
Fine mesh strainer or cheesecloth (I used a tea strainer)
A glass or small bowl to strain into (heat proof)
A glass container with lid to seal and store your ink

To Paint:
Watercolor brushes
Watercolor or mixed media paper (In our out of a nature journal)
Water & Paper towel
Palette
Optional:
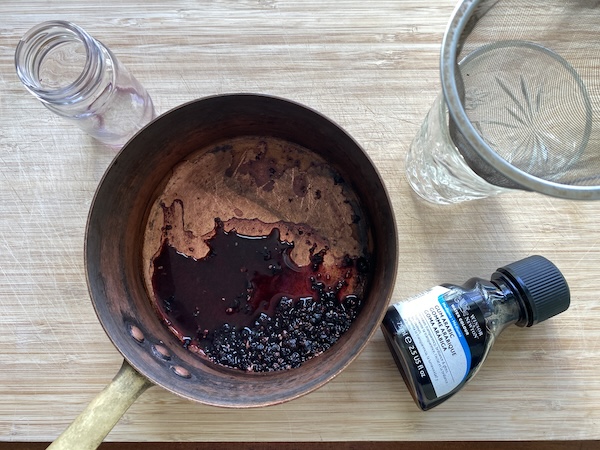
Watercolor medium like: carefully foraged local tree sap/gum (leave some so the tree's wound doesn't reopen), gum arabic, or other preserving additive like glycerin, or thyme or clove oil
Ink Making
How much ink you get depends on how many berries and how much water you use, of course.
I used about 2 tbs of berries to 1/4 cup of filtered water.
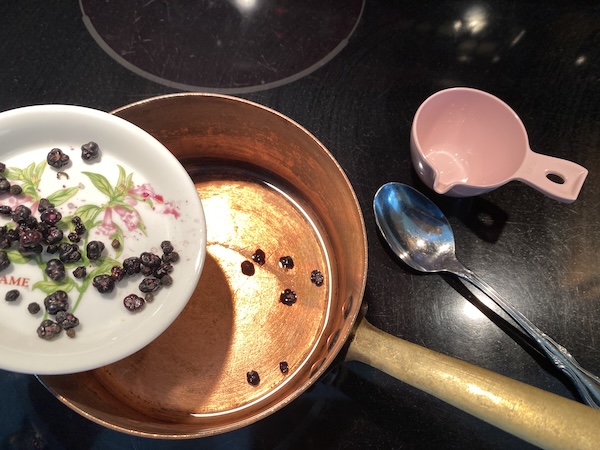
Place these into the saucepan on low heat. You want it to get hot, but not boil. On my electric oven I kept it on 3.
As the berries soak, smash them with a spoon to release the ink juice.
(You could also use a muddler or mortar and pestle prior to heating if you have them.)
As the berries warm, the more dry ones become easier to smash.
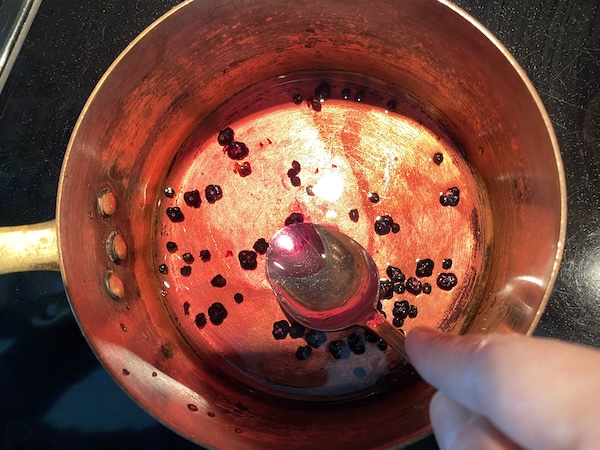
Continue to smash them now and again over about 30+ minutes of keeping an eye on the pan to make sure it doesn't boil and it doesn't cook out and burn. We want it to cook down and to concentrate.
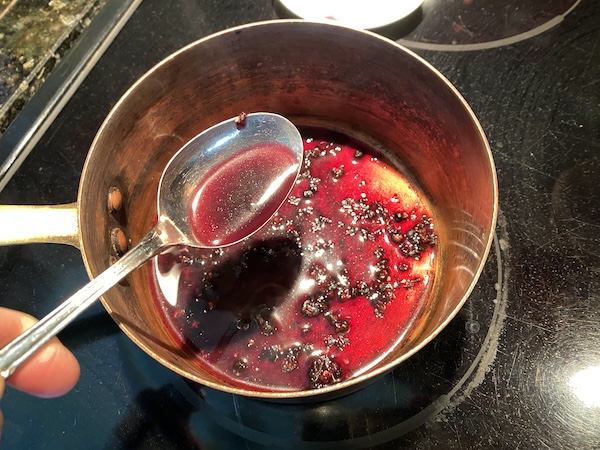
This isn't an exact science, go on intuition and also spoon out the liquid and see how dark it's getting. Once it's cooked down and is nice and dark, remove from the heat.
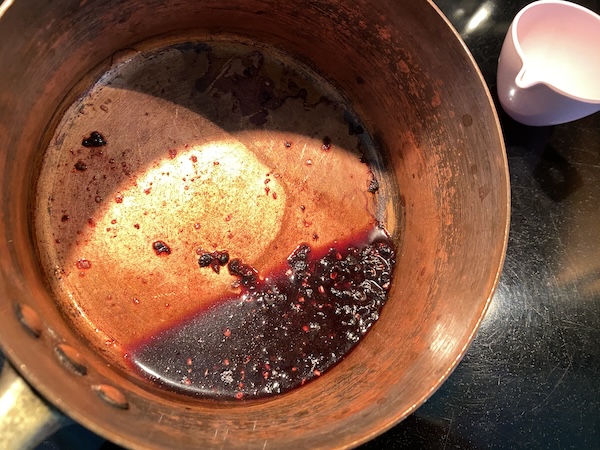
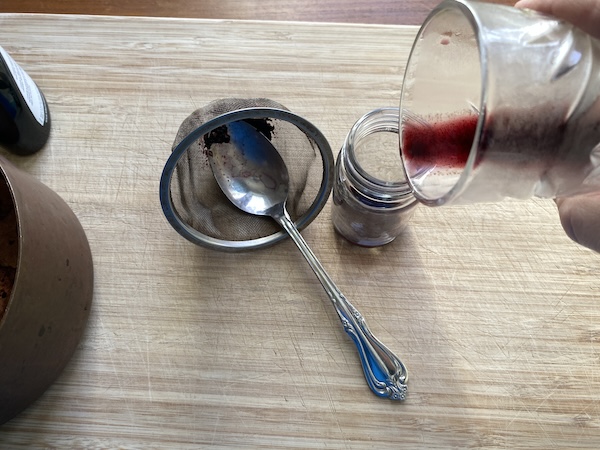
Place a strainer over a glass and press as much ink juice through as you can get.
You can compost the remaining plant material later.

Then finally, pour the strained ink into a jar.
You may even want to strain it again at this point depending on they type of berry you used and how fine your strainer was the first time around.
Now you have ink!
Paint!
It's time to play in the nature journal with your nearby nature made ink!
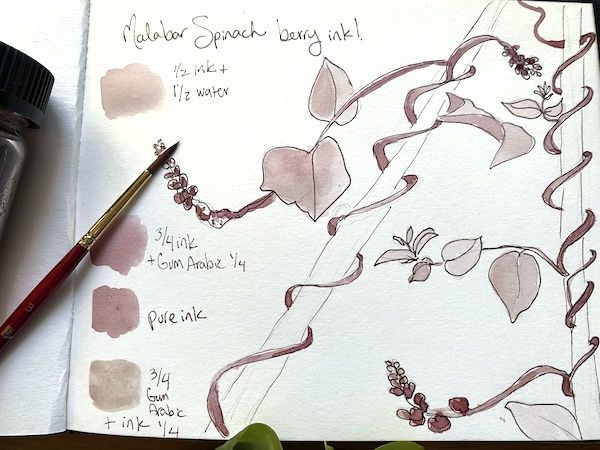
I drew a sketch of the malabar spinach plant to paint in with the ink. I wanted to keep this process painting exclusive to the malabar ink so I didn't add any other watercolor or ink to it, but you definitely could if you wanted to - or even better you may make more colors from other plants and have them all ready to go!
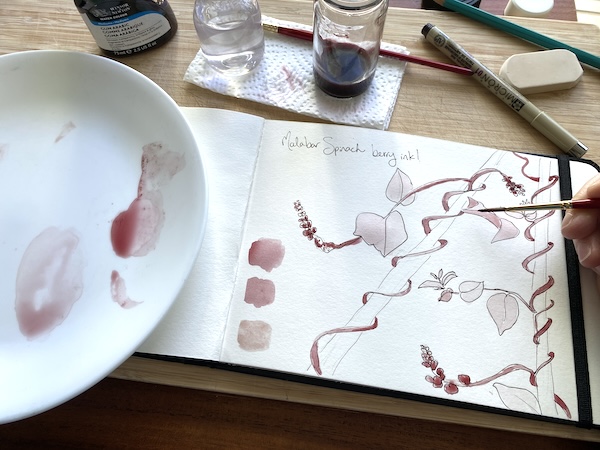
I also added some sample swatches to my page where I experimented with adding gum arabic
(because I already had some on hand).
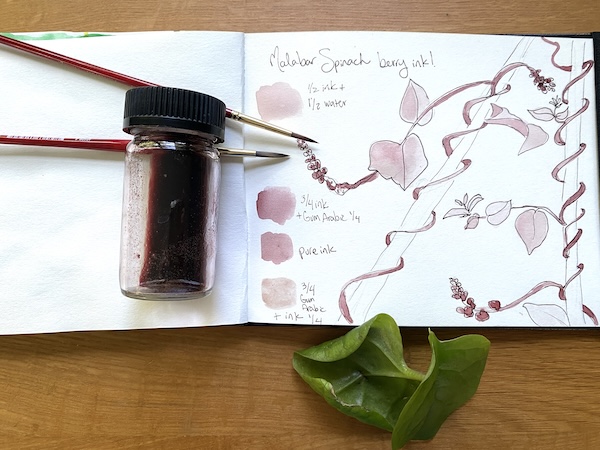
Store your berry ink in the fridge and it will last for months! Otherwise it will last a few weeks. If it starts to smell funny it's time to compost it.
Extensions:
If you would like to make berry ink with young children or don't have access to heat - like out in a community children's garden - go simple and just smash up the berries and paint away!
Beets work too, as well as prickly pear and Jamaican sorrel. Just smash (ideally strain) and paint.
You can also use coffee, marigold & cosmos flowers, turmeric, purple cabbage leaves and more if you smash them in a bit of warm water from a thermos.

For even more ideas check out Found, Foraged, Grown by Melissa DeSa!
Instagram @Southern_Seed_Queen
Seeds to Sprout
Print with Petals!
In this Wonder Wednesday 72 project, we smash some flower petals from a bouquet and make floral prints!
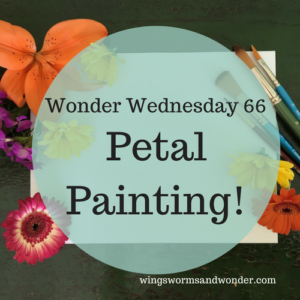
Painting with Petals!
In this Wonder Wednesday 66 we steep flower petals and make our own gentle watercolor paints! Give that spent bouquet another life!
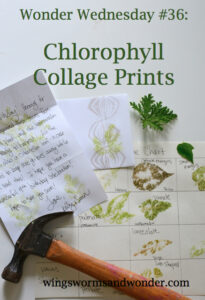
Chlorophyll Prints!
Perhaps one of my most popular blog posts of all time, this Wonder Wednesday 36 project has you breaking out the hammers to smash leaves into chlorophyll collage prints!
Comments are closed.
Wow Kelly, how cool this is. I love the enthusiasm you exude with your projects & experiments. And the ink looks great!
And the malabar thing, such pretty berries (the pinks!). I don't know what it is, but it looks so cool!