Wonder Wednesday 138: Upcycled Garden Signs
What did I plant?
Spring is here and it's time to get the garden going! Personally, I'm notorious for planting seeds and not labeling what I planted where. I've been doing this long enough that I just figure it out once they sprout - and I am familiar enough with the weeds to know which little sprout is a weed sprout and which is a seed I actually planted.
But sometimes, even when planting starts, it can be tough to remember which variety is which when we plant say, a lot of different types of cherry tomatoes or peppers. We may not want to wait months to know which one is which! That's why labeling where you plant your seeds, and your starts, is so helpful and such a good idea! So this spring I'm putting an end to my bad habit of not labeling!
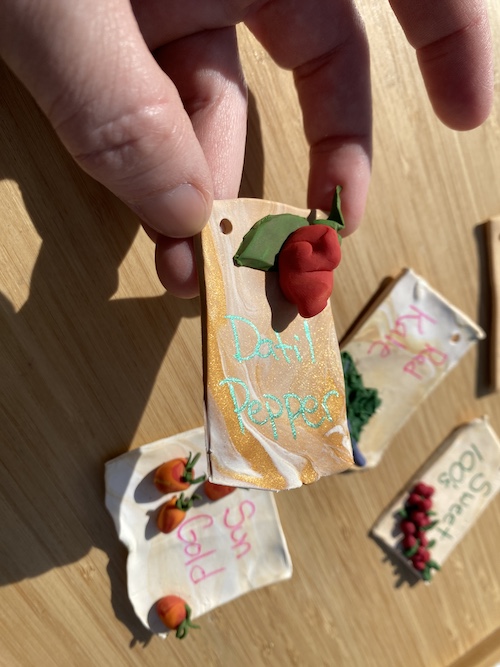
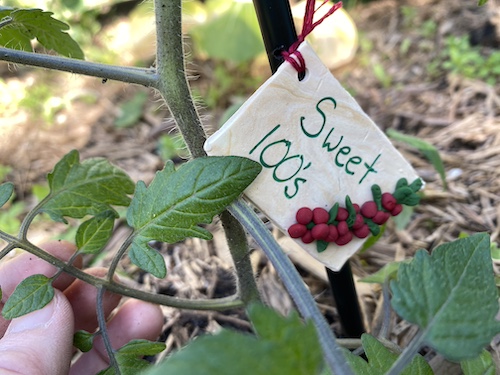
This Wonder Wednesday, let's make garden signs that not only up-cycle plastic and wooden take out items, but also are fun to make and look super too! Will you join me?
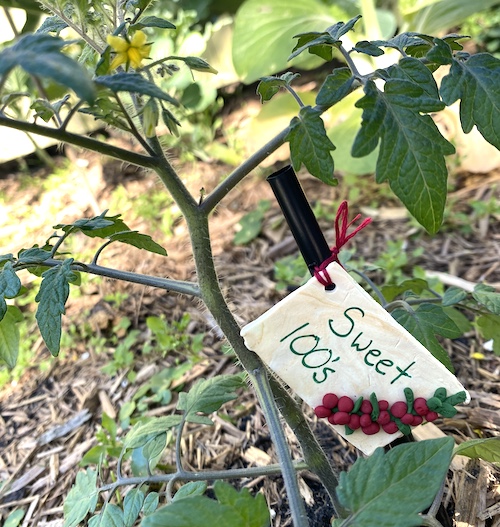
Note - I realize the irony of this project using polymer clay, which is a plastic. However, These garden signs can be reused over seasons and are not intended to be disposable. Ideally we could make these out of fired clay, but that isn't a reality for most of us on the day to day.
So we do the best we can with what we have at a given time. In this case, we're keeping a few more disposable plastics out of the ocean and landfill and giving wood a second use where it can decompose and return to the Earth.
Straws and Spoons
I learned this past week that it takes 200 years for a plastic straw to decompose! I'm not bothered too much about straws and rarely eat out to get them, yet still somehow they show up in my drawers and I leave them there because I feel guilty about throwing them away and them ending up in the ocean - and that was before I learned the 200 years fact!
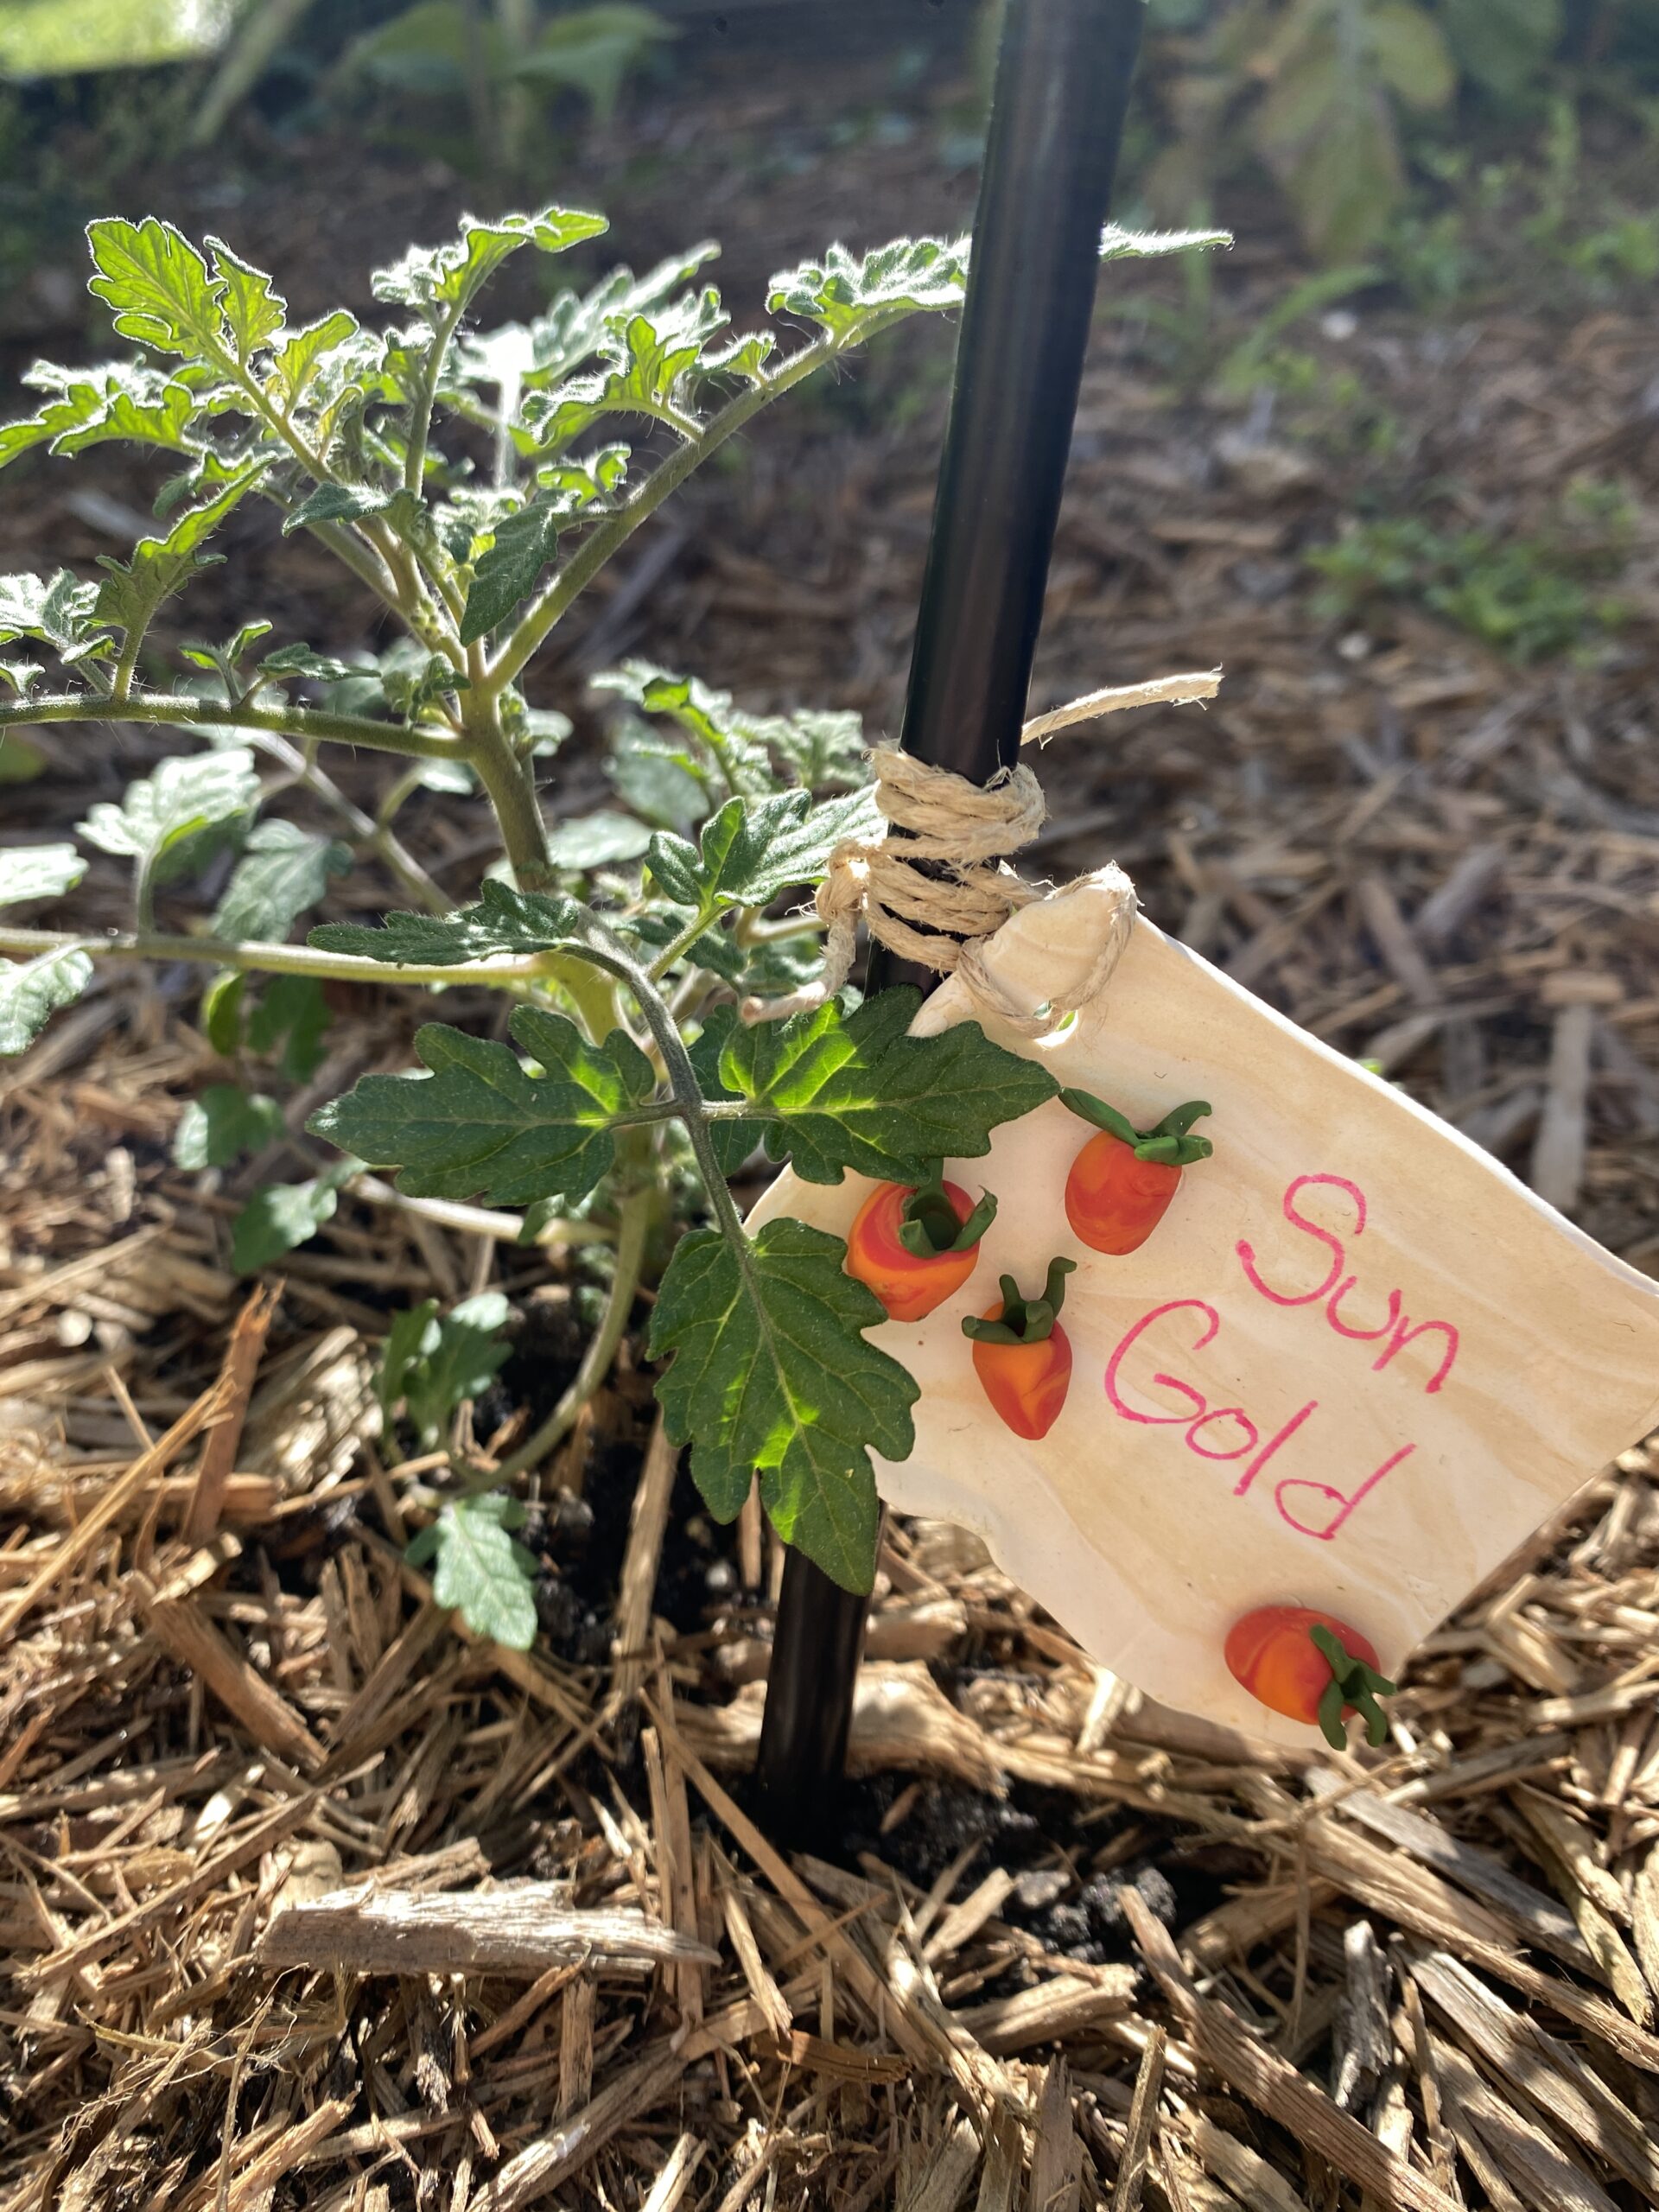
And - plastic silverware takes up to 1000 years to biodegrade. These items are too small for recycling machines so end up in landfills, incinerators, or in the environment.
Tie this project and these facts into your environmental science, ecology, economic geography, and ecology by gathering more facts on various decomposition timeframes; collect straws, spoons, and chopsticks; and then make this project part of your Earth Day lessons & celebrations!
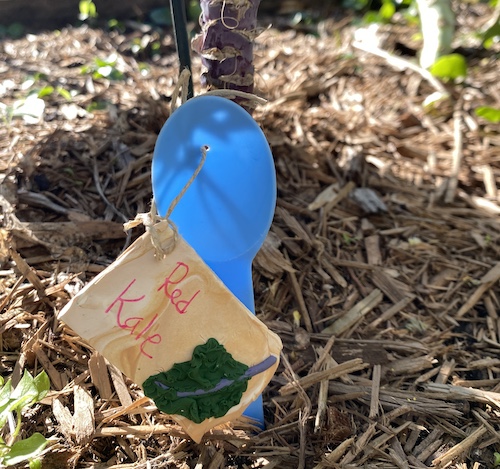
Chopsticks
Years ago I heard a duo speak on why restaurants shouldn't offer disposable chopsticks due to the amount of trees that are cut down each year. That idea stuck with me because I love using chopsticks all the time. I have reusable pairs at home and a reusable pair that I carry with me in my bag in a travel kit (along with a reusable wooden spoon and a straw (that I rarely use but hey, it makes a nice set).
Yet even still, disposable chopsticks somehow end up in my drawers. Well, I looked up this fact to be reminded of the number and learned 3.8 million trees are cut down each year, in China alone, to make disposable chopsticks! That number is way too high to just throw them out! That's no way to respect a tree!
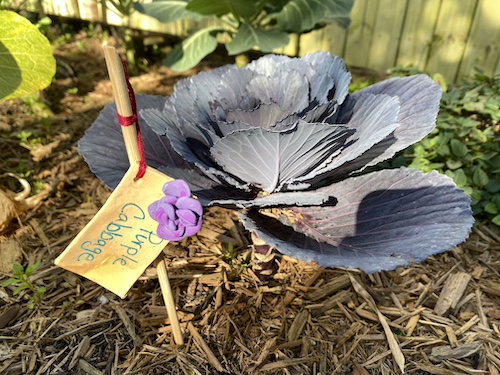
Wonder Wednesday 138: UP-Cycled Garden Signs
Materials
Polymer clay like Fimo or Sculpy, brand doesn't matter (or oven fire clay if you have access to glaze and a kiln)
A Cutting board
Cutting tools
Scoring tools - I used a broken paintbrush and an up-cycled plastic stir stick
Up-cycled plastic silverware, straws, and used or unused disposable chopsticks
String or twist ties - up-cycled is awesome
Something to poke holes like an awl, a hand drill etc
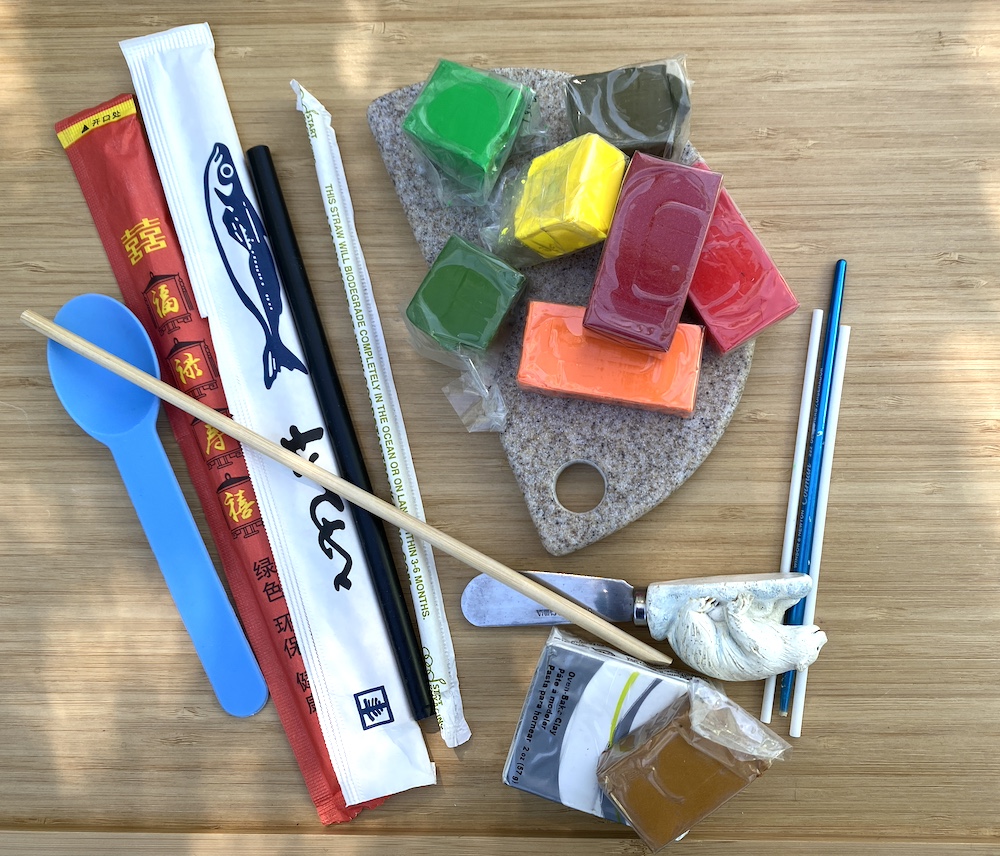
Additional Materials:
Scissors
Permanent markers or Paint markers
A rolling pin or cup to work as a rolling pin
Any other tools you like to make marks or impressions in the clay
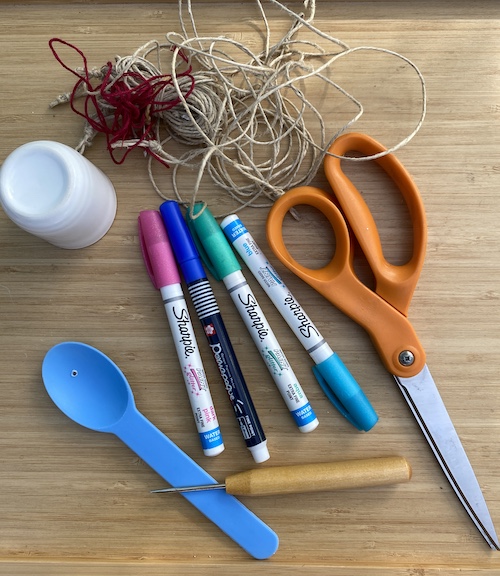
Preparation
The main prep for this project is to decide what plants you will label and get your garden going!
Procedure
First roll out a slab of clay about 1/4 inch thick to make the main part of the sign that you will write on. The size will depend on the amount of detail you want to write, or the size of the person writing's handwriting (aka children will need larger signs).
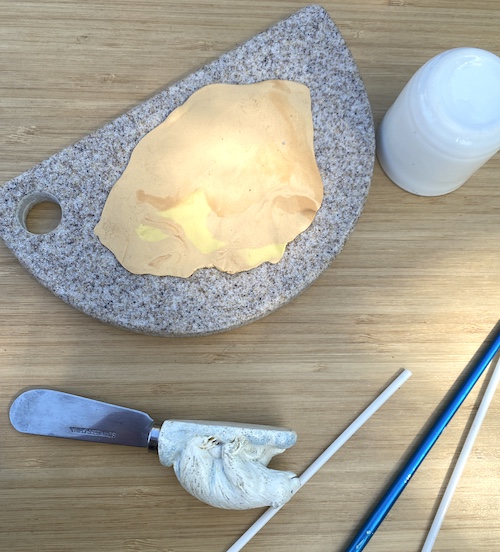
Cut your sign out of the little rolled slab. You can be as exact as you like about this. I sometimes chose to leave one side of my signs natural because I like the juxtaposition of one organic edge complimenting the more geometric edges.
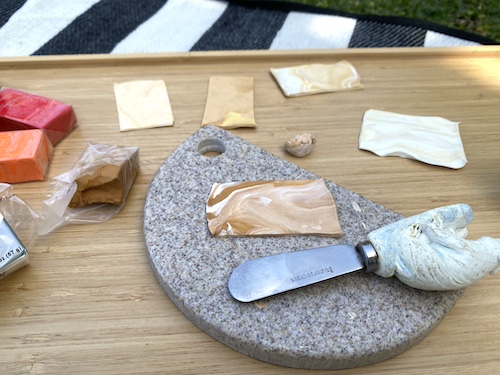
Then fashion your little veggies, or flowers, or whatever it is you planted that you are marking. If you are only planting one of a variety, for example one tomato plant, you could fill the entire sign with the little sculpture and not write anything on the tag at all. But if you are planting multiple varieties of a plant, for example a few varieties of tomatoes, you'll want to write the variety name on the tag.
If you want to tie this project into art history, the basic art technique we are using to make these signs is called bas-relief or relief sculpture. This is a type of sculpture where a shallow portion projects from the surrounding flat surface. Humans have been making this type of sculpture for over 20,000 years around the globe.
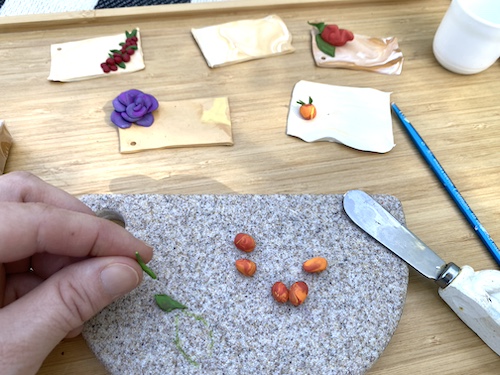
When you attach your little veggie parts to each other and to the sign, remember to score them. This means you use a tool to add some texture to the two parts that will be touching each other where you want them to adhere. Rough them up a bit.
This makes the parts stick together much better and helps prevent them from detaching from the surface in the cooking or firing process.
When you apply your veggies to the signs, consider the composition, including what and where you'll be writing on the flat part of the sign.
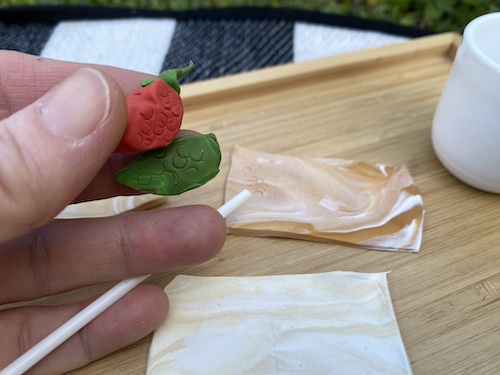
Once your veggies are attached, use a tool to make a hole in the tag so it can hang.
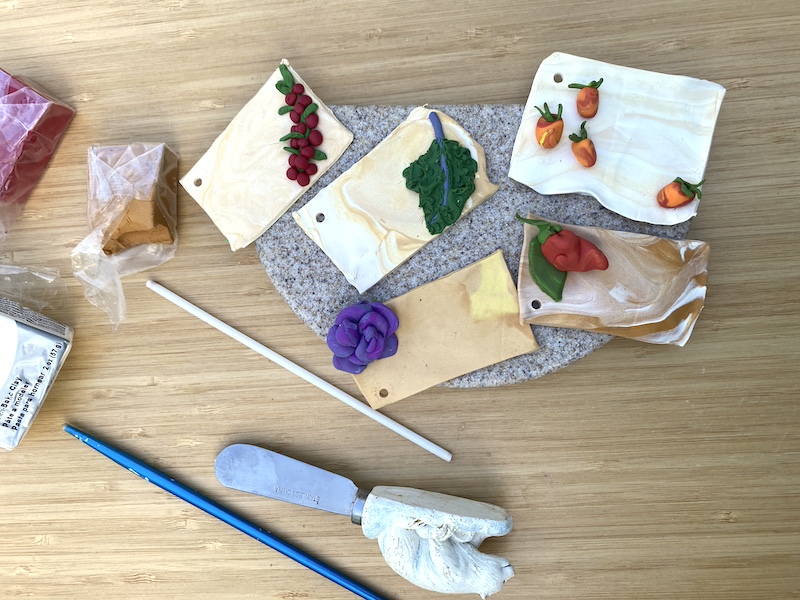
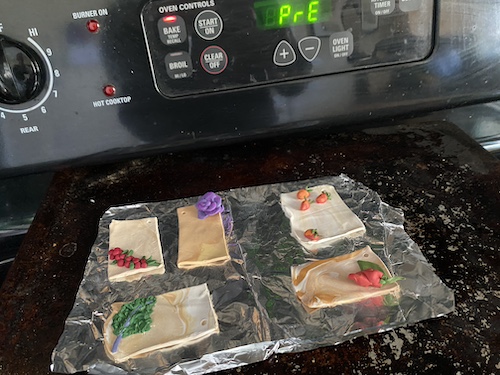
Then place on foil or parchment on a baking sheet and bake according to the clay package's instructions.
Once baked and cool, write the names on the tags.
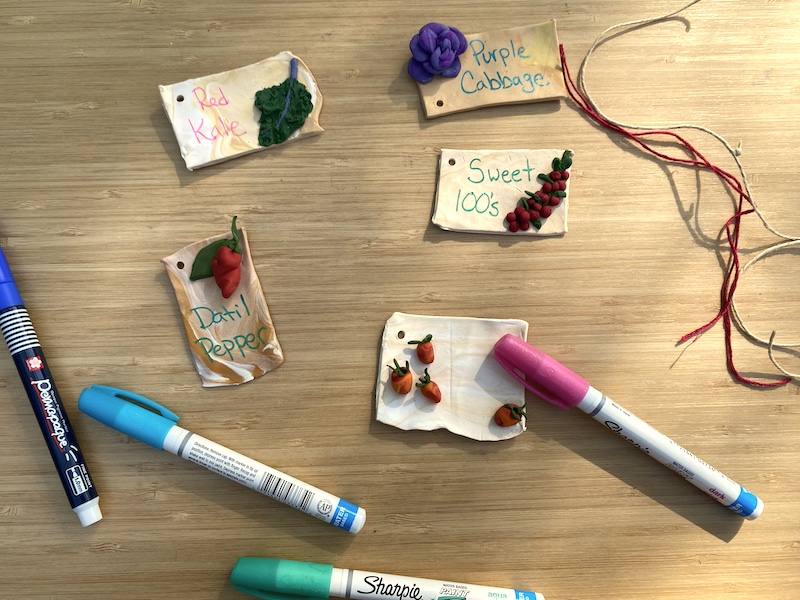
Cut your strings. Attach the strings onto the tags.
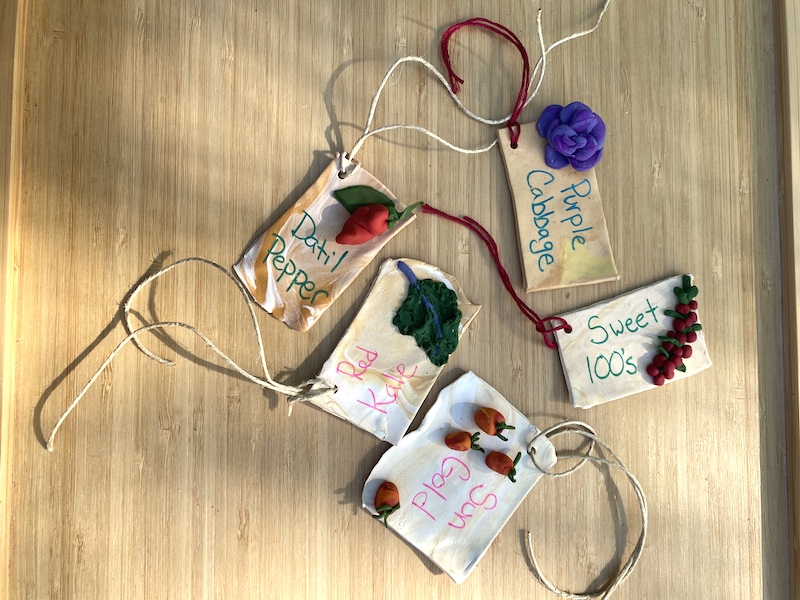
Attach the strings to the sticks, straws, and spoons. This can be a bit fiddly depending on your string, so you may need to use an awl or something sharp to poke the string through the hole or even a larger size needled to thread it through.
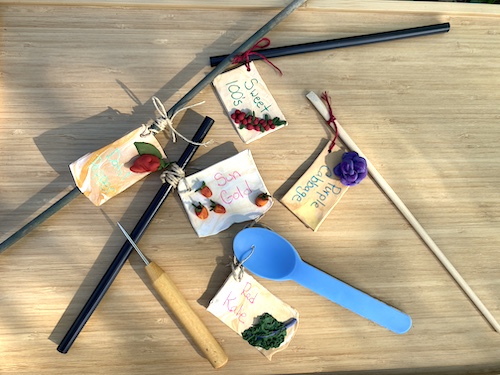
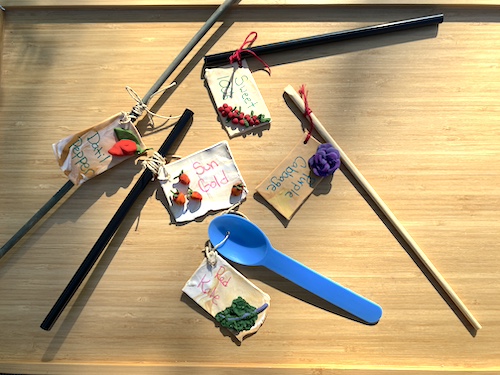
Depending on the hole and the stick, straw, or spoon, you will need to use different techniques to attach the string.
So for example with the straw, the string can go right through and tie in a loop, while on a chopstick or piece of bamboo the string needs to be wrapped around - so cut your string lengths accordingly.
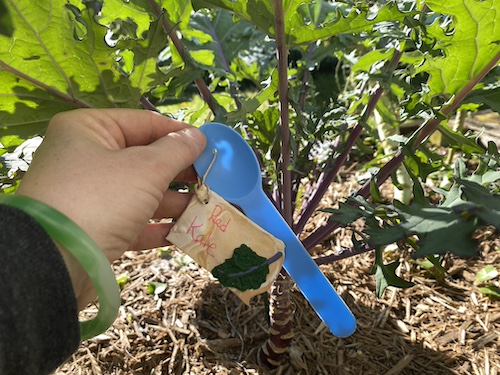
Place your garden signs in your garden and enjoy!
Seeds to Sprout:
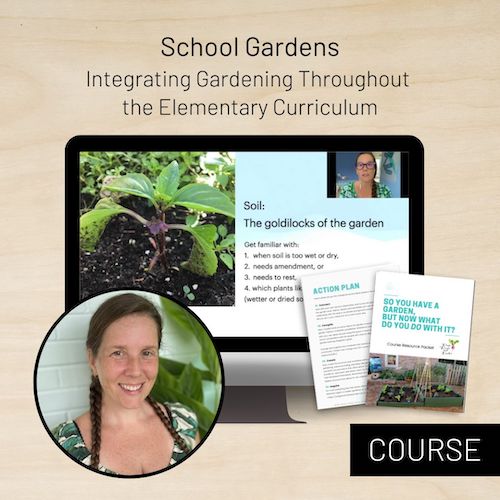
School Gardening Course
Want some help getting your school garden growing? Look no farther than my School Gardening course with Trillium Montessori!
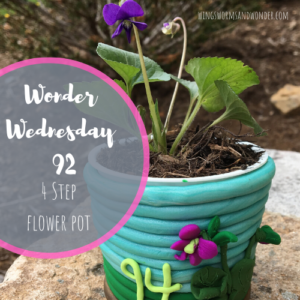
Wonder Wednesday 92
Have some polymer clay left over?
Make these sweet sprouting pots in only 4 steps!

Wonder Wednesday 70
No space or time for a garden? try kitchen gardening by re-sprouting, aka propagating, the veggies you buy at the store!
