Category: Nature Journaling, Wonder Wednesday
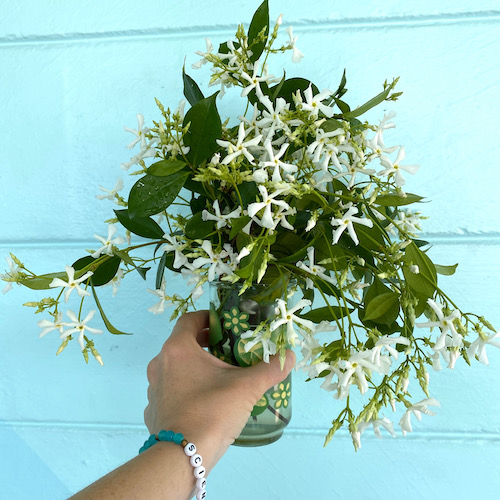
Happy Wonder Wednesday 105! Spring is in full swing, and the Jasmine vines in my garden are bursting with blooms! How is spring progressing in your neck of the woods?
I am thrilled to showcase something new this month. In this Wonder Wednesday video tutorial, we play with the wet-on-wet watercolor technique using a new type of watercolor paint I recently learned about called Viviva Colors.
And …shhh… stay tuned because in the next blog post I announce a really exciting collaboration project I’m doing with Viviva Colors! And y’all know I don’t endorse brands or ever have ads on my site, so you can trust that these paints are reeeaaaallly special if I’m collab-ing with them!
Okay! Let’s get on to this ultra watery watercolor technique!
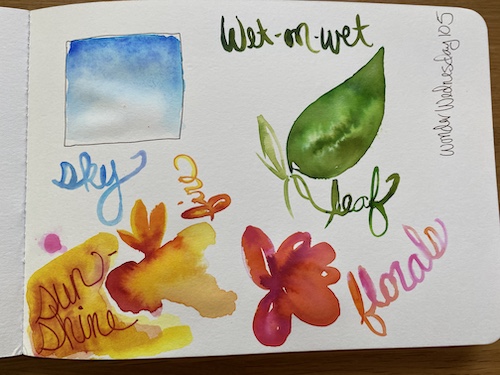
You know those fun videos you see online of people painting with watercolor? It’s like paint seems to burst out onto the page like a firework or tie-die. This looks fun to do and dramatic to watch, right? Well, it is so easy to do! You just need to know one simple watery trick and you’ll be blending bright colors into skies, seas, leaves, flowers, fires, and more right on your nature journal page!
The trick – Let the paint do the work! Let’s try it!
Wonder Wednesday 105:
Watery Watercolor Technique
Wet-on wet isn’t a fancy name, but it perfectly describes this technique. You literally wet the paper, then add wet paint to the paper. The paper can be wet with plain water or already be wet with paint.
Either way, you add wet paint to a wet surface and the color soars and spreads across the page wherever the page is wet!
The really cool thing is, the paint will only spread where the page is wet! The dry edge of a wet area of paper is like a fence that holds the watercolor paint within its borders. This technique “rule” also holds true when lettering.

Materials
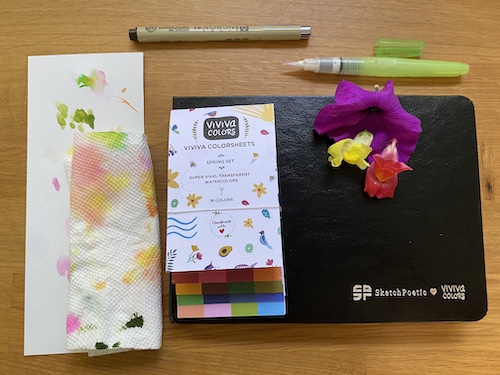
Watercolor or mixed media paper (loose or in a sketchbook)
Watercolor paint (gouache works too)
A paintbrush (I used a waterbrush, but any paintbrush works)
Water
Paper towels
Scratch paper
Optional – a permanent pen
Preparation
Take a moment and a few deep breaths. Roll your shoulders back, wiggle your neck, give your body a little wavy wiggle. Embody watery flow!
Get your mind and body loose because this is a loose technique! Go with the flow of the water and the paint. Once the paint loaded brush hits the wet paper, what happens next is up to the water, paint, and paper!
Of course you encourage the look by adding more paint and water here and there, tilting the page gently, or dabbing a new color into wet paint. But when it comes to the final, look once the page is dry, the result is up to the materials.
Procedure
Here is your Wonder Wednesday Watery Watercolor video tutorial! Remember to stay loose!
Extension
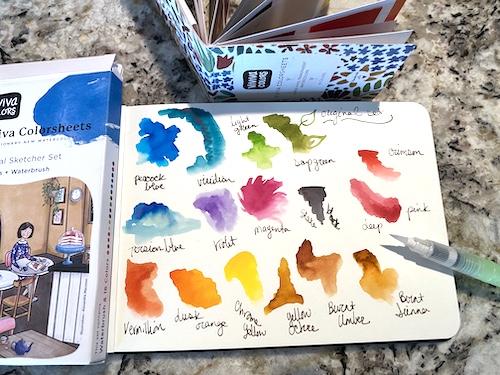
Swatching is a great way to practice the wet-on-wet technique for making fades or gradients. Plus it’s a good painting warm-up!
What bit of nature do you want to paint with the wet-on-wet technique?
Share in the comments below!
Share photos of your Wonder Wednesday 105 watery watercolor play on Instagram #wingswormsandwonder #drawyourselfbacktonature !
Seeds to Sprout
