Category: Montessori, Nature Art, Nature Crafts, Wonder Wednesday
Happy Wonder Wednesday 61!
This month, to celebrate my new print on demand fabric designs, we’re going to have a little fun with sewing! These easy sew art bags can be made in about an hour, and can hold everything from nature art journal supplies to found nature walk items – to just about anything!
You don’t need any sewing skills beyond the very basic up down, up down (—-) hand stitch and a few basic supplies you probably have around the house!
These little bags also make really nice holiday gifts if you fill them with a few fun items, that’s why I offer this activity to you now so you have plenty of time to make as many as you like at home, school, or beyond!
Let’s get started!
Wonder Wednesday 61: Easy Sew Art Bags!
Materials:
Cotton fabric -You will need two 7 in x 7 in squares of fabric. You could buy fabric, use scraps, or even cut up an old pillowcase, collared shirt, tote bag, or even pair of cotton pants. The 2 squares don’t even need to be the same fabric. I recommend avoiding knit t-shirt fabrics if you are a beginner sewist.
2 pieces of 22 inch long ribbon or twine. If you use ribbon, be sure it is thinner than 1/4 inch wide.
Thread – Any color you like or that coordinates with your fabric.
Needle – Any basic sewing needle is fine
Safety pin
Scissors
Pencil
Ruler
Optional: pins
Preparation
Wash and dry your fabric is it is new.
Iron your fabric
Cut your lengths of ribbon
Procedure
Trace two 7×7 inch squares onto your fabric/s. Cut out your squares.
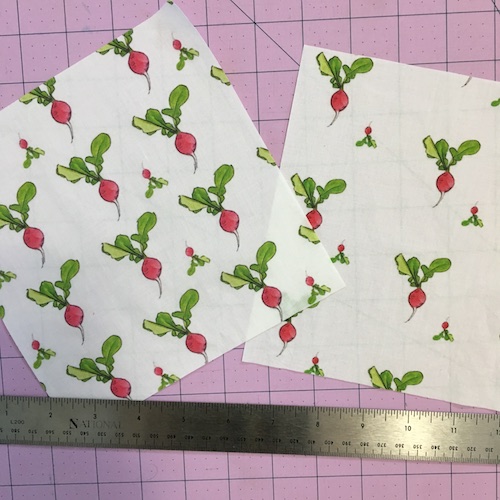
Place both squares, front sides of the fabric facing down, on the table in front of you.
Fold the top of the fabric down 1 inch, toward the back side of the fabric. Pin or iron the fold flat. Repeat for the other square. This is the pocket your drawstring ribbon will feed through.
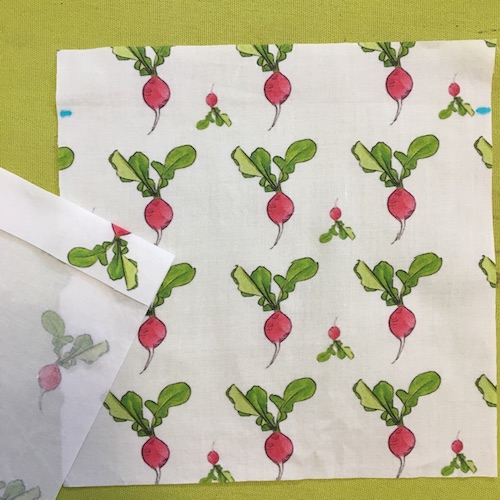
Sew straight across the bottom open end of the fold to create a pocket for your drawstring ribbon. Tie knots at either ends of your sewing to secure the stitches. Repeat with the other square.
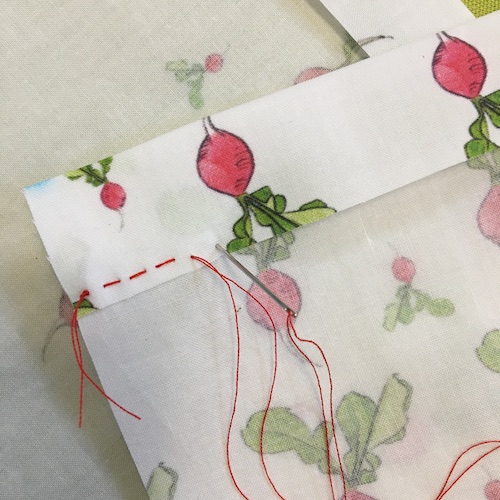
After both squares have their drawstring pockets sewn, line up the fabric squares one on top of the other, front sides facing in toward each other.
Pin together or begin sewing starting at your drawstring pocket seam.
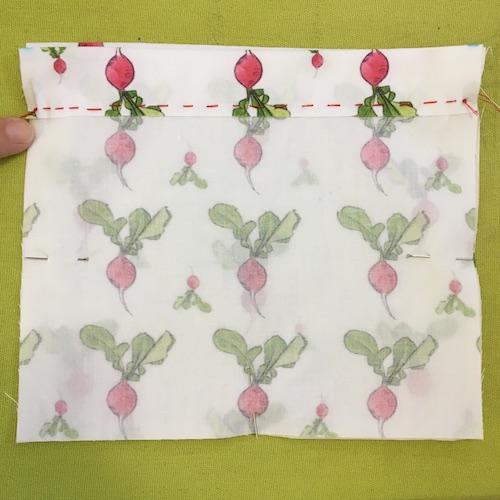
Sew around the outer edge of the sides and bottom of the pouch, stopping when you reach the drawstring pocket seam on the other side. Try to keep your seam about 1/4 inch in from the edge of the fabric. Tie knots at either ends of your sewing to secure the stitches.
Then, trim the corners of the bottom ends of your pouch. Be sure not to clip too close to the stitches. This will prevent bulkiness in the corners when you flip your pouch right side out.
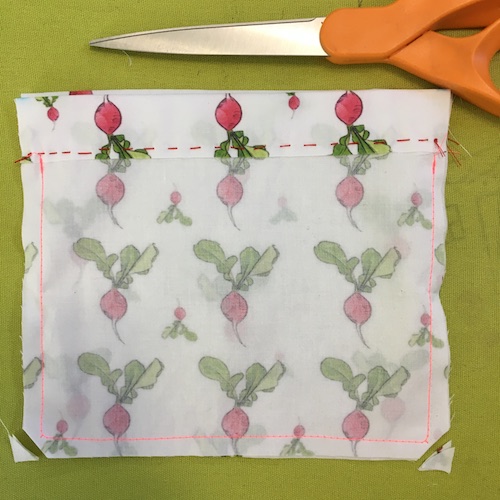
Now, flip your pouch right side out.
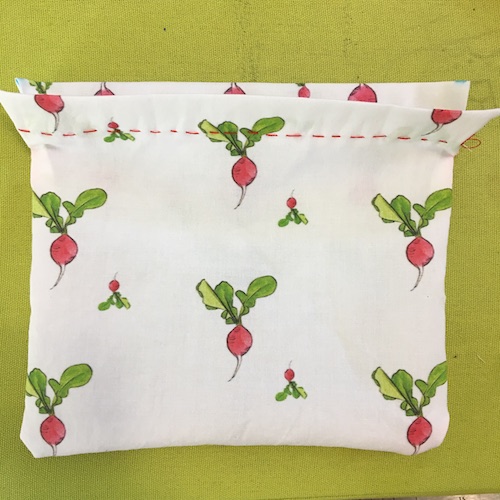
The Drawstring
Pin the safety pin to one end of one piece of your ribbon. Starting on the right side of your pouch, feed the ribbon through both sides of the pouch until they meet back up on the same side. Tie the ends of the string together.
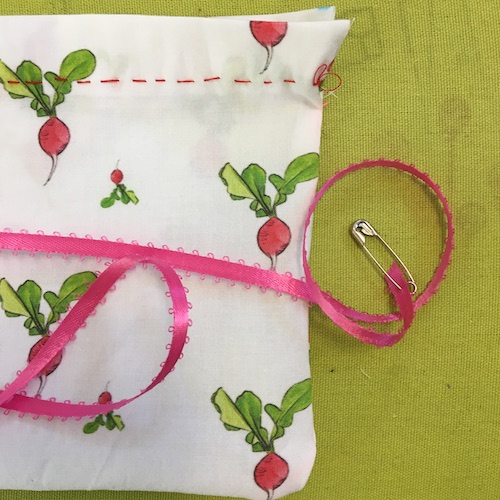
Now, starting on the left side of your pouch, repeat feeding the ribbon through both sides of the pouch until they meet back up on the same side. Tie the ends of the string together.
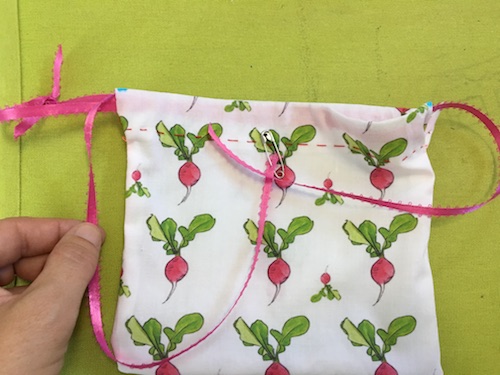
You should now have 2 loops, one on either side, to pull and draw the pouch together at the top.
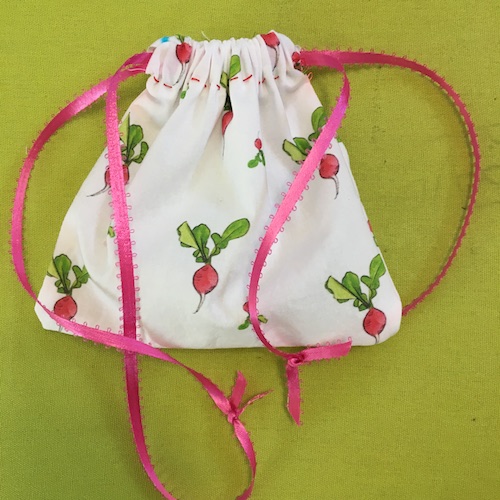
Voila! You are done! Fill your pouch with your nature art journal supplies, and the treasure you find on your nature journal walks to draw later!
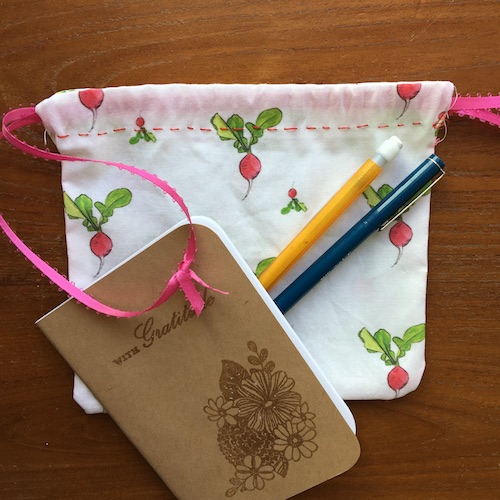
What will you put in your easy sew pouch?
Share in the comments below, or post pics on Instagram @wingswormsandwonder !
Seeds to Sprout:
