Wonder Wednesday # 7- Abstract Expressionist Nature Prints
Welcome to the 7th Wonder Wednesday Activity. This month we will be looking at a fun way to make leaf prints. I cover one of my favorite ways, cyanotype, in my book, so here I offer you another simple type that can be done with a wide variety of age groups depending on how you set up the activity.
By only using one very well pinned down leaf, do this with toddlers.
Leaf Splatter Prints
This is an easy type of print that can be done with children young and old using regular materials found around the home or classroom. I recommend correlating this activity with a study on abstract expressionism and Jackson Pollock for older children and as an extension for my “Leaf Matching” lesson from the Worms “On the Soil” chapter.
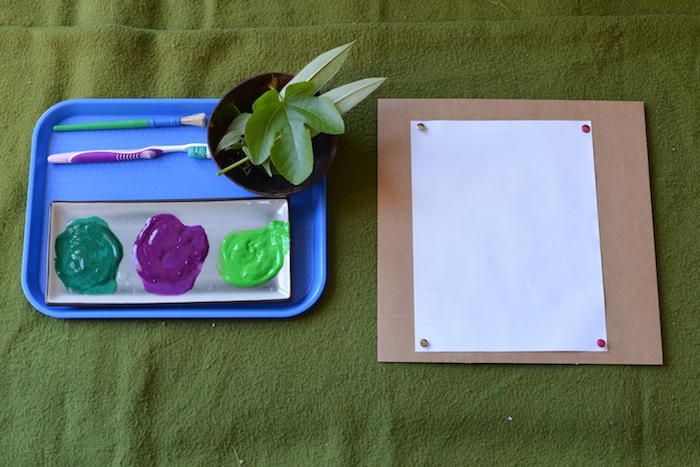
Materials
Tempera, acrylic, or liquid watercolor paint. Paint should be very thin and runny, but mixed well and not watery. The thinner the paint the easier it will spray and flick off the toothbrush. This will create more defined edges around the leaves almost like an airbrush. A little thicker paint can be used for flicking off the regular brush for added interest.
A palette or little bowls that brushes can be dipped into.
Brushes- both old toothbrushes and paintbrushes for creating different effects (If you really want to get technical, harder grade toothbrushes create a better spray than soft, but really just use what you have.)
Paper
Leaves
Push pins
Pieces of cardboard slightly larger than your paper
A large drop cloth if you are doing this inside or on a surface you don’t want covered in paint!
Smocks (optional)
Palette knife (optional for those that don’t want to get paint on heir hands)
Procedure
Take a nature walk and collect a variety of leaves.
Upon returning, research the types of leaves collected and the shapes and margins of each leaf. Record this in nature field journals. This can be the beginning of a more in-depth research project on a specific type of tree.
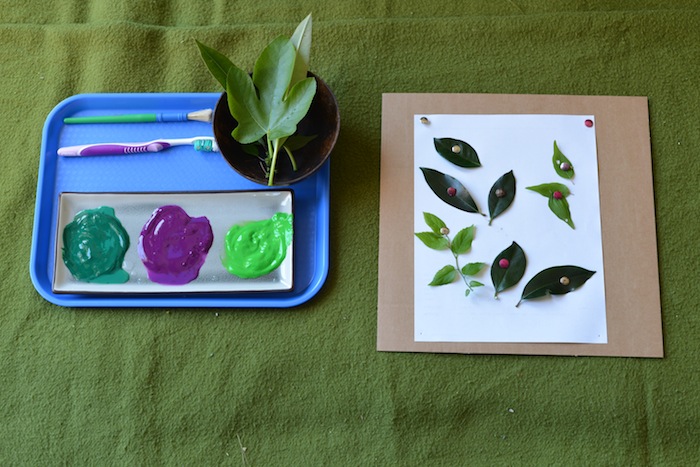
Pin the piece of paper to the cardboard.
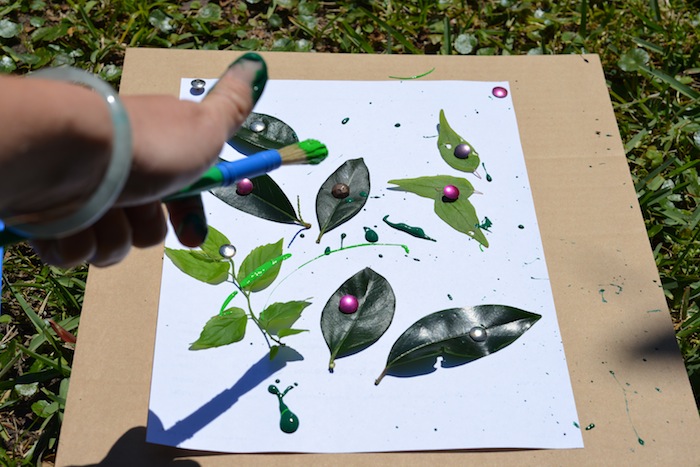
Arrange the leaves and then carefully pin them down to the paper.
Choose a color scheme of around 3 colors. Paint should be very thin and runny, but mixed well and not watery. The thinner the paint, the easier it will spray and flick off the toothbrush. This will create defined, ore detailed edges around the leaves almost like an airbrush. A little thicker paint can be used for flicking off the regular brush for added interest.
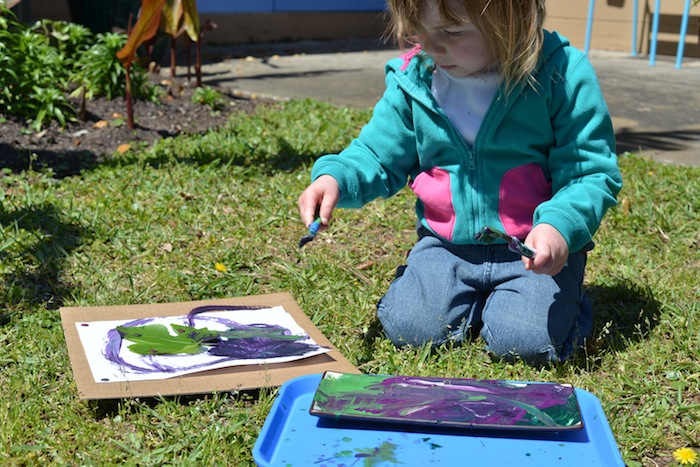
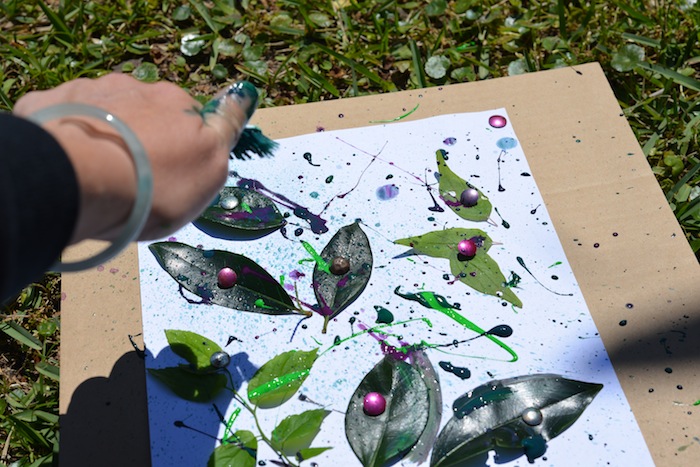
Bring paper, brushes, and palette to the drop cloth or outside, set the cardboard/pinned paper down, dip the brush into the paint and flick paint off the brush onto the paper. If using a toothbrush, with bristles facing up but aiming the brush toward the paper, use your thumb or a palette knife to scrape the bristles TOWARD you (or UP if the brush is turned sideways as in this pic), flicking paint onto the paper in a finer spray. (Scraping away from you will flick the paint onto you!)
The thin paint creates a fine spray.
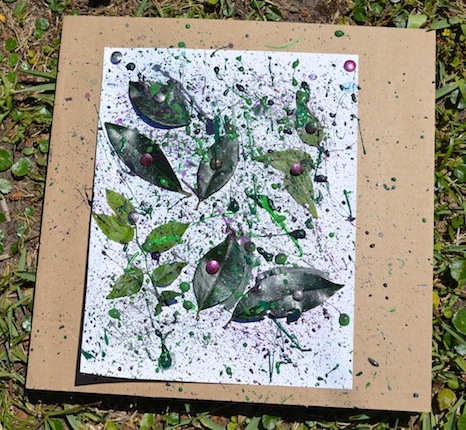
Focus on getting a lot of paint around the outer edges of the leaves so the margins come out clearly.
Once the paper is covered in a way that is aesthetically pleasing, yet clearly defines the leaves, set the cardboard/paper out to dry.
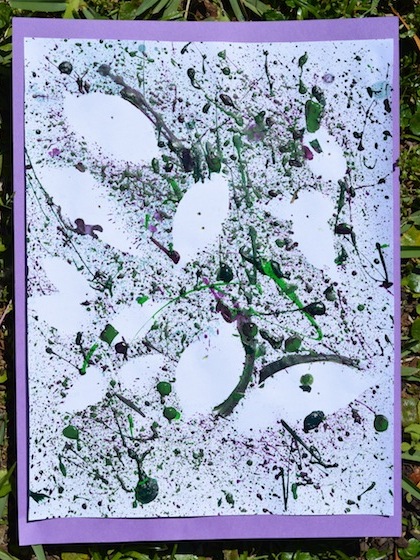
Once dry, remove the pinned leaves and unpin the paper from the cardboard.
At this point, you may want to mount the print onto a larger piece of coordinating color construction paper as a frame to create a defined border around the print and add visual stability.
Leaves of Live Oak and Water Oak trees
Use this abstract expressionist print as an illustration for the leaf or tree research work and create a display or group presentation that beautifully teaches about art and nature!
Seeds to Sprout:
Info on Abstract Expressionism by the Metropolitan Museum of Art, NYC
Children’s audio Abstract Expressionism by the MoMA, NYC
Action Jackson, an appropriate book for children on the artist Jackson Pollock
An interesting HuffPost article comparing children’s art with famous abstract expressionist work
Leaf identification from the Arbor Day Foundation site
Tree identification through leaves
