Category: Nature Crafts, Wonder Wednesday
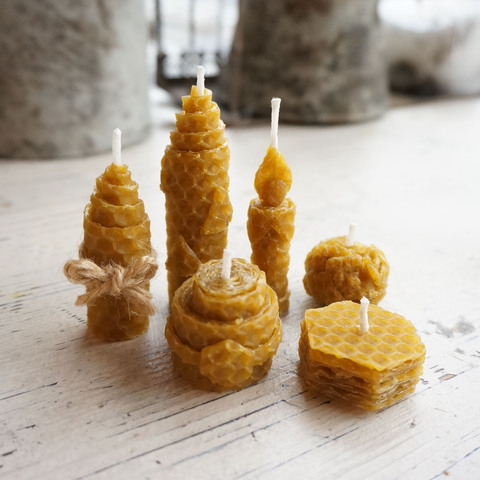
As winter solstice approaches, and we snuggle in and join in the Danish tradition of Hygge, we must have candles!! Last year we made no wax candles, so this year we’re making wax sheet candles to keep that warm glow inspiring us through the longest night and all winter long!

Did you see yesterday’s post on “doing” Hygge? If not check out the link below!
The solstice isn’t until the 21, so you have plenty of time to make lots of these fun candles for all you know and love! And if you are lucky, you can get real beeswax sheets from a local beekeeper!

Wonder Wednesday 52: Wax Sheet Candles
Materials
Wax sheets – beeswax, natural, or colored
Wicks
Scissors
Optional:
Containers for your candles, like ceramic bowls, tiny vintage pyrex, non flammable nature items like seashells or stones.

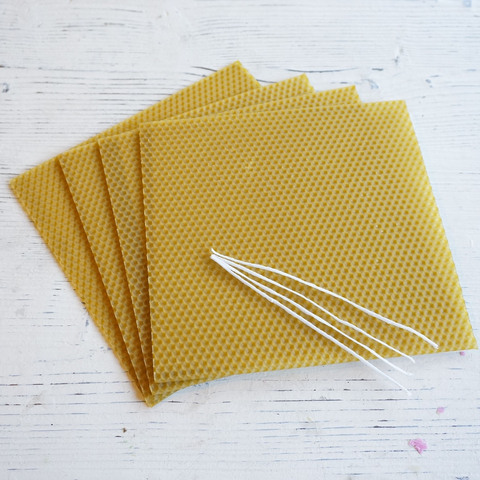
Beeswax sheets and wicks. Photo credit
Preparation
Get the wax sheets from a local beekeeper (they will smell so good like honey!), order them online from beekeepers or shops, or find them at many craft stores.

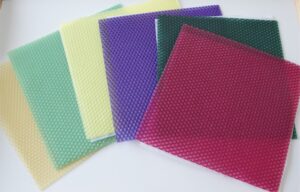
I like the natural best, personally, but they do come in colors too. (Photo credit Sew Can Do blog)
The wax sheets can be a little brittle, especially when cool, so it’s best to do this in a warm environment and to even warm them slightly if possible with your hands or any way that you can manage that will only warm and won’t melt them.
Procedure
Lay out the sheet horizontally on the table. Decide how tall you want your candle. Do you want a pillar to go in a candle holder or do you want a low wider candle? Both are great!
Cut the wax sheet horizontally to the height you want your candle. If making a pillar candle, no cutting is needed.
Cut the wick about an inch longer than the wax height.
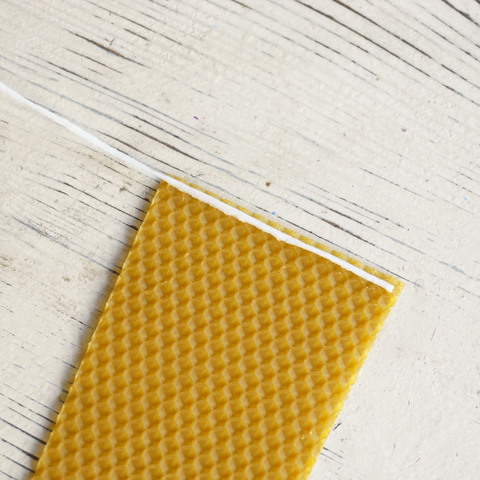
Lay the wick at the left side of of the wax sheet. Place the bottom of the wick up 1/8 from the bottom of the wax sheet. Let the top of the wick extend out past the wax.

Gently roll the wax over the wick and press making a tight little pocket for the wick to live in.
Then, slowly and carefully continue to roll the wax sheet around the wick. Roll fairly tightly so there are big gaps of air in between the sheets. A tight roll = a nice burning candle.
When you reach the end of the sheet you can either:
Press in another sheet of wax and continue rolling until the candle reaches your desired thickness, or
Stop rolling and press the end of the wax into the rolled candle body to complete.
I like to then stand the candle up and kinda flatten the base so the candle stand nice and evenly.
If you are putting it into a container you can press the base directly into your container (Try a seashell, a ceramic bowl, or any other nature (non flammable) item you like!)
And that’s it! A fun and easy way to “do” hygge! Make all the candles you like for everyone you know and love!
More Ideas
Ball up scrap wax tightly around a wick and make a more free form candle
Use cookie cutters to cut out a shape from the wax sheet. Use an awl or other point tool to make a hole for the wick to fit through. Threading onto the wick, stack the shapes to the desired hight, pressing the sheets snugly into each other as you stack.
What do you love most about candles? Share in the comments below!
(When I was little I would sneak my fingers into the warm melty wax of my mom’s holiday candles when she wasn’t looking. I loved how it was so warm and squishy and the way it would harden. My mom wasn’t so thrilled about little finger dig outs in her candles nor all the dry wax I’d pick off my fingers scattered around her candles!)
Share pics of your wax sheet candles on IG #wingswormsandwonder!
Seeds to Sprout:
Due to a life constraint, sadly, I had to borrow pictures of the wax rather than take my own. If you are in Japan, or anywhere they ship worldwide, you could order your wax and wicks from the company that I featured the natural wax pictures, Rakuten Global Market. Click here to check them out.
