Category: Montessori, Nature Crafts, Wonder Wednesday
This month, as everything from leaves to seeds to sticks fall from the trees, get out, get collecting, and have some fun painting with unconventional items! Then turn them into festive decor or even holiday cards depending on what colors you choose!
Wonder Wednesday 39:
Painting with Nature
(All photos in this post taken by Amy Parmelee)
Materials
Acrylic or tempera paint
Smocks if needed – remember acrylic paint doesn’t wash out.
Plates or pallette to put paint onto
Card stock
Yarn
Needle
Thread
Scissors
A stick
Nature items to paint with
Wipes or a bucket of water for clean up – or both!
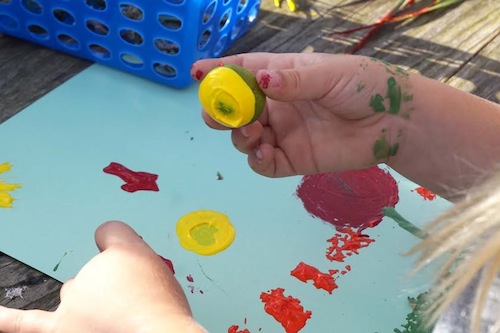
Kumquats made a fun stamp.
Preparation
Collect nature items such as: leaves, seed pods, sticks, feathers, fronds, berries, or whatever else you like and find! You can even bundle say asparagus leaves together like a brush, tie them up with the thread to a stick, or use a sprig of rosemary if you like the idea of making more traditional brushes as well.
Put the paint out onto the plates for dipping the nature items in. You may want to curate the colors you put out to paint depending on what you want to make from the paintings and the colors of card stock you use.
Have your clean up strategy in place. Acrylic paint doesn’t wash out!
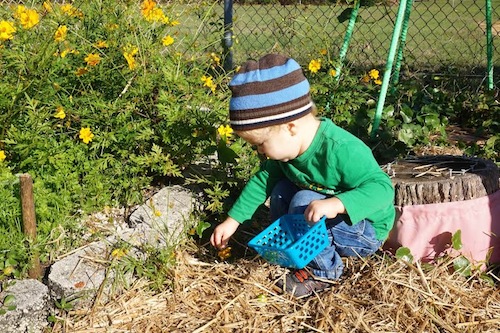
This is a fun activity to do with all ages.
Younger children may need a little more one on one guidance and clean up!
Procedure
I read the book Lily Brown’s Painting by Angela Johnson to get the children thinking about ways to use their imagination when painting the world around them – or painting with the world around them!
Then I explained that we were going to use nature to make wall hanging paintings. I showed them a sample and gave them ideas of how different items could be used as a paint brush – brushing flower petals, stamping shells, rolling seeds, etc. We talked about how they could make patterns, images, or abstract paintings.
Talk about what botanical elements or anatomy would make for a good painting tool, have them consider different plants and items, and coax them to experiment! Explore what textures may make nice prints.
Release the children to collect painting items.
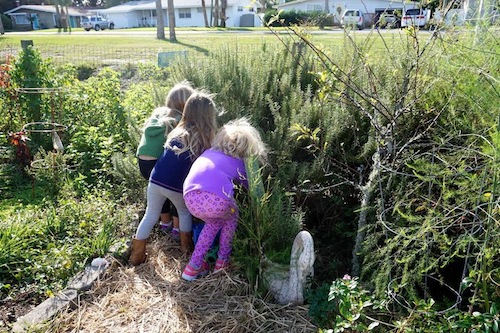
Rosemary made a popular brush
Gather at the painting tables, pass out the card stock paper, and let them paint and explore.
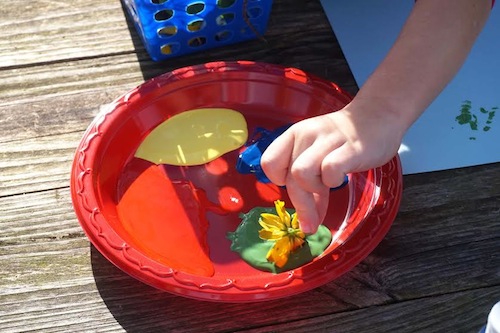
Dainty
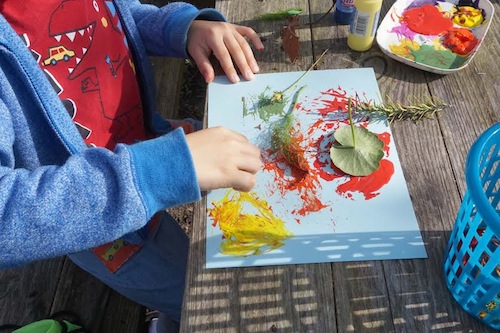
or daring!
Once the painting is finished, if you are making a wall hanging:
Have the child find a stick the length of the top of their painting or longer.
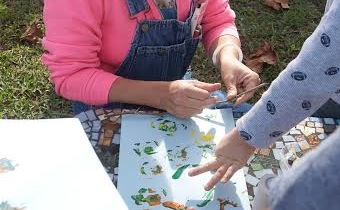
Take the needle and thread and stitch through the top of the page about an inch in from the edge and sew a loop around the stick. Then tie off the thread. Repeat on the other side.
(I got this technique idea form MUMBOT’s Draw Yourself Back to Nature Blog Hop tutorial.) This is definitely a grown up job or an older child with pretty good needle and thread skills.
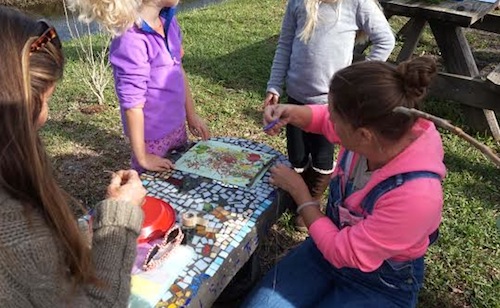
Tying the stick and be a little tricky so tape the stick first to the page if you find that it moves around too much for you to attach it snugly.
Then tie a piece of yarn to the edges of the stick and hang up to dry! Now you have a nature painted wall hanging!
If you are using the painting as holiday cards:
Let the paintings dry and then cut and or fold into the size card you like.
Extension
An awesome idea and a great extension to this activity: Rhonda, of Community Playthings, said in this week’s newsletter, “Just because it’s November doesn’t mean an end to the wonderful creative opportunities afforded by nature’s loose parts. Bring them inside!
Here’s an inspiring addition to your art area: transient nature art. Simply provide frames or trays and a collection of natural materials. Transient art, by definition, is non-permanent and allows the children to manipulate, explore, and experiment with patterns and shapes in a completely process-oriented way.
Having a defined space to work within adds just enough subtle structure to provide focus. Having unconventional art materials—such as natural loose parts—compels them to use their imagination to create unique and original masterpieces.”
What was your favorite nature item to paint with?
What made it your favorite?
Share pictures of your nature paintings on Instagram #wingswormsandwonder so we can see!
Seeds to Sprout:
Check out MUMBOT’s vintage science poster wall hanging tutorial here.
If you made a wall hanging this time, but do want to make cards too, check out this Wonder Wednesday activity for making Solstice cards from nature items.
Have you seen my new online school home yet? It’s still in soft mode, but I am super psyched on it. It’s clean, clear, easily accessible, easy to navigate, and easy to purchase and bundle courses too! Check it out here and more on the home (and more ecourses) coming soon!
Learn more about how loose parts inspire children’s play in this Community Playthings article. All the nature items collected for this activity would be considered “loose parts”.
