Wonder Wednesday 104: Quick Spring Sprouting Rings
Spring is sprouting up all over the place, and that means it’s time to get those seeds started! Sprout sunflowers to grow in time for Mother’s Day in May or jump on the ball for post-frost garden planting! These quick and easy up-cycled sprouting rings will save you money, time, and tick off both reducing and reusing on the eco-triangle!

They also work great for children’s sprouting projects and spring garden plantings. All ages can participate in this month’s project! And you know I love a multi-generational gardening project!
And since we are getting back into gardening, what better week of the year than on Farmworker Awareness Week! March 25-31 is the week to thank a farmworker because without them, we would be in serious trouble. Farmworkers have been true heroes throughout the pandemic – and are everyday of course!
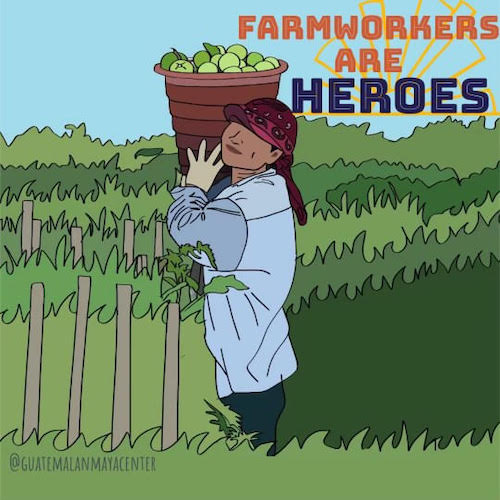
Did you know that many farmworkers are struggling with poverty and food scarcity to the extent that they can’t afford (or have access) to even eat the vegetables they are harvesting? That is just crazy.
“If you ate today, thank a farmworker.”
While today may be the final day of the official Farmworker Awareness week, farmworkers should be supported every week of the year! Hit up your local farmers market and support local farmers by investing in local farms and ( your own and )community health with local fruits and veggies!
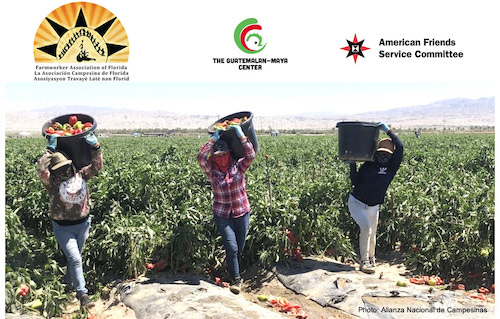
Then, check out your local or regional Farmworker support organization and ask how you can help. Find out what they actually need – perhaps it’s a small donation of school supplies, hygiene materials, or coats. I don’t know what they may need, but I know that asking, rather than imposing my own idea, is always the best way to help.
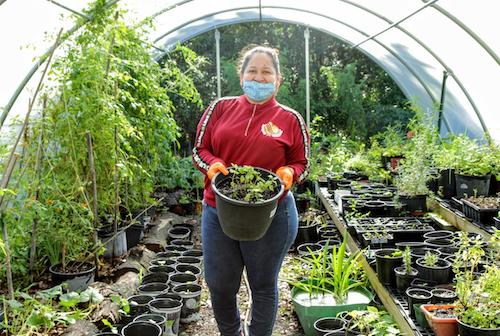
The Florida Farmworker Association
…has started a great program to get access to healthy produce – farmworker community gardens – the Campesinas Gardens! Brilliant idea! I would love to volunteer at one of these gardens if it was possible- once the pandemic is over I am definitely going to seek out more info.
And you don’t have to live in Florida to support this fantastic organization! If you like eating tomatoes in winter, explore what you can do to add support from afar!
“Throughout this unprecedented time, Florida’s farmworker community has continued to battle against policies that keep them underserved and underrepresented. The Farmworker Association of Florida wants to bring attention to their struggle this week! Please join us in getting the word out!
Help us commemorate this special week by following and sharing our posts on social media. Look for the hashtags:
#FarmworkersFeedYou #NFAW2021 #FarmworkersFeedTheWorld “
~Farmworker Association of Florida

Let’s get sprouting on small, large, and all scales in between! Have a happy Wonder Wednesday!
Wonder Wednesday 104:
Quick Spring Sprouting Rings
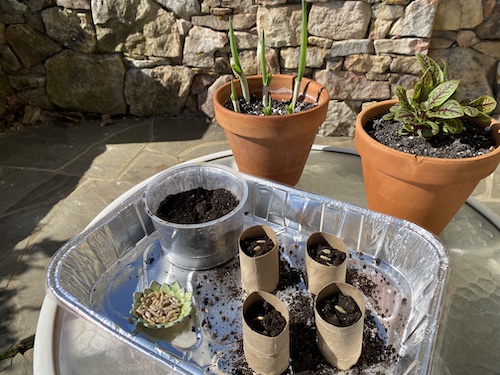
These little ring style sprouting pots are great because they won’t trap the growing roots and make them coil around the pot. The roots can grow right out of the bottom and then the cardboard rings can be planted right into the ground and will decompose in the garden!
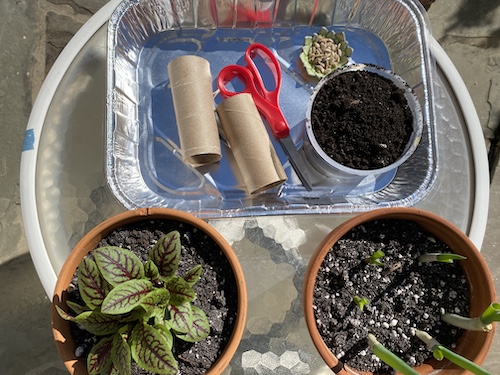
Materials
- Paper towel or toilet paper rolls
- A tray with sides. I used an aluminum tray from a bakery that some birthday cupcakes came in. Any tray with a solid bottom that is at least an inch deep should work fine. You could use a proper gardening tray, a baking pan, or even a sand play tray.
- Scissors
- Potting soil
- Seeds of your choice (I used sunflower)
Preparation
Flatten the rolls to make them easy to cut

Cut the rolls into approximately 2.5 inch tall rings

* Check the moisture of your soil. Soil right out of the bag is often too dry. Or if the bag has been sitting outside at a garden center and been recently rained on it can be too soggy.
If the soil is too dry, fill a bowl with some soil. Then get the soil damp and mix the water around to absorb into the soil. If you put a clump into your hand and squeeze it into a ball it should stick together, but easily crumble. If you squeeze the soil and it seeps water, the soil is too wet, so let it sit in the sun for a couple hours.
Procedure
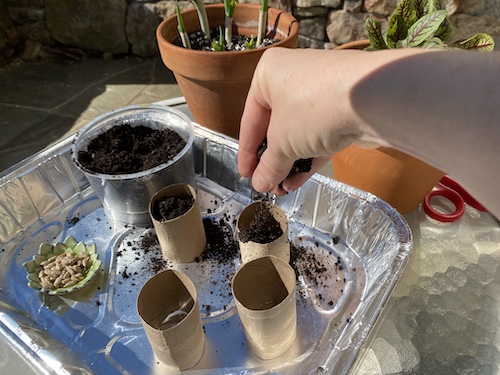
Place the rings into the tray with the open side on the top and bottom

Fill the rings with the damp soil. This can be done as tidy, or not, as you like! It doesn’t actually matter in this case because some soil will seep out the bottoms anyway. (That makes this project great for tiny gardeners.)
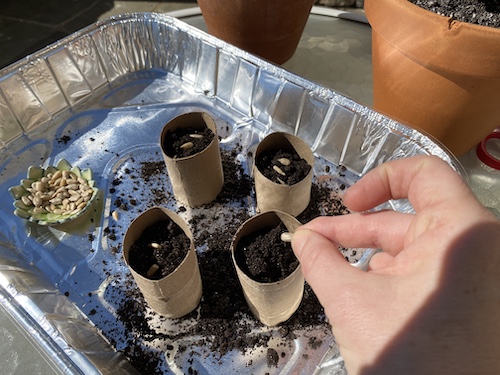
Plant 2 seeds into each ring. Plant the seeds according to the package instructions as far as depth. If you are using very tiny seeds, like dill, you can put more than 2.
Sprinkle a small amount of water on the sprouting rings. A spray bottle works great for watering from this point forward until the sprouts are an inch tall.
Place the tray in a sunny window and keep the soil damp.
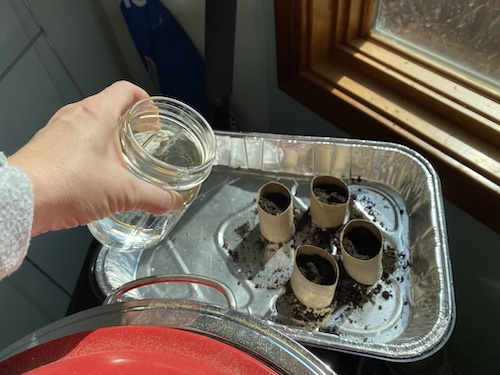
As the sprouting process continues, water can be added directly into the bottom of the tray. The water will wick up through the soil in the bottoms of the ring pots. This is a good watering method if the rings seem to dry out particularly a lot. If you live in a dry environment or have dry heat inside this wicking water method is great.
Optional – Use a spray bottle to water the soil’s top surface (even if also using the wicking watering method – especially if you are sprouting small seeds that are shallow in the surface soil.
Once the seeds sprout, follow the packet instructions and your local weather to decide when the seeds should be transplanted into larger pots or into the garden.
The rings can be planted directly into the garden! Just hold a hand under the bottoms when you pick them up out of the tray to hold the soil in and protect the roots.
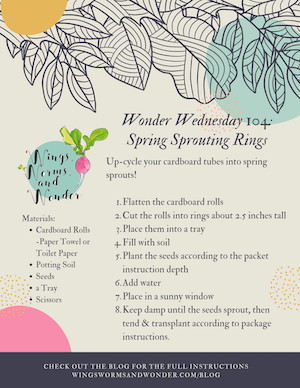
Click to download this pdf of this activity to share! Wonder Wednesday 104 Wings, Worms, and Wonder
What seeds will you try to sprout in these spring quick sprouting pots?
Share in the comments below!
Share your Spring Sprouting Rings photos on Instagram #wingswormsandwonder !
Seeds to Sprout
Start a garden journal to track your spring sprouting! Click here to make your own fold-n-go journal! (Or click the Let’s Build a Garden Course above and get the Wings, Worms, and Wonder garden journal and guided instructions included with the course!)
